
Managing OpenID Connect
Add an OpenID Connect identity provider, copy the redirect URI, and turn on optional SCIM.
An OpenID Connect connection lets people in your organization sign in with your identity provider. The setup has three steps: From your IdP, To your IdP, and SCIM provisioning.
Before you start
- You must be signed in.
- These plans include this feature: Enterprise.
- These roles can add an OpenID Connect connection: Owner and Administrator.
- Have OpenID Connect values from your identity provider: issuer URL, authorize URL, token URL, JWKS URL, and client ID. You can also load endpoints from a discovery URL.
View Single Sign-On
- Open your user menu. Then select Settings.
- Under Organization settings, select Single Sign-On.
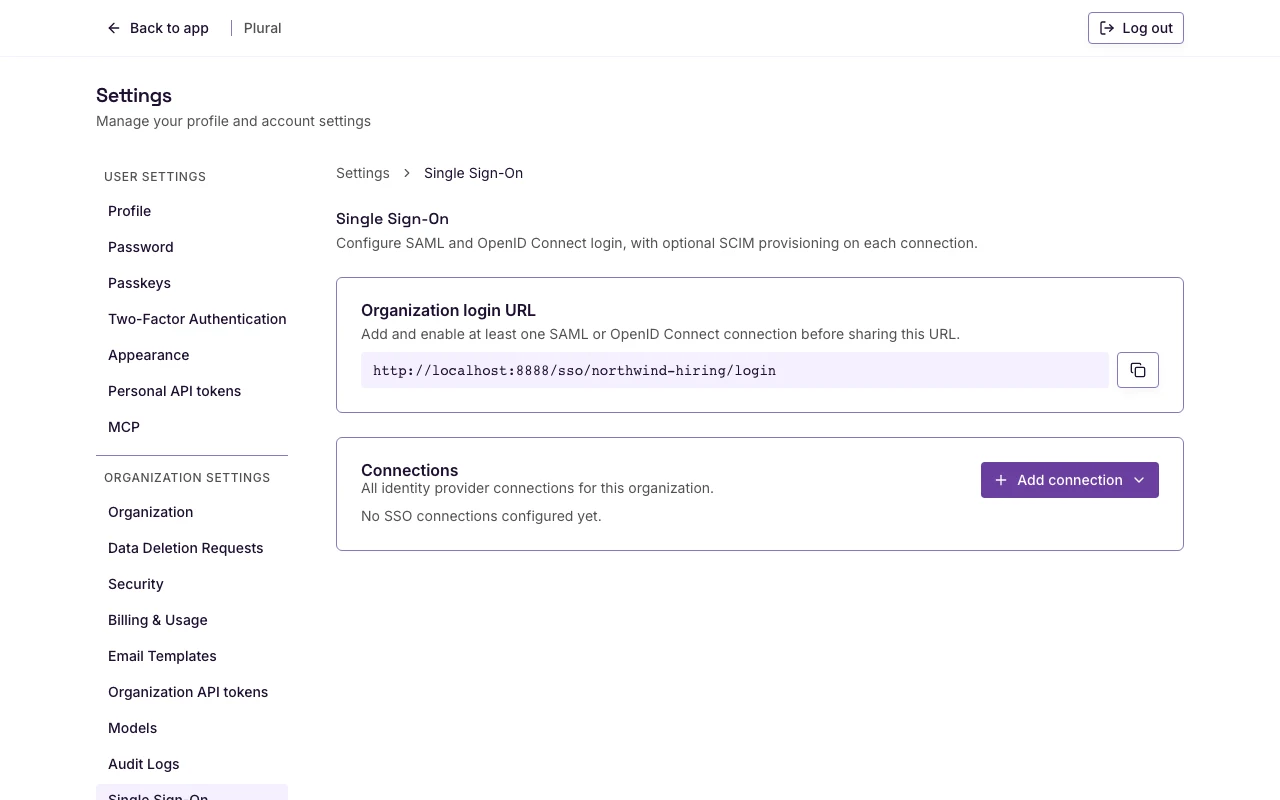
The page title is Single Sign-On.
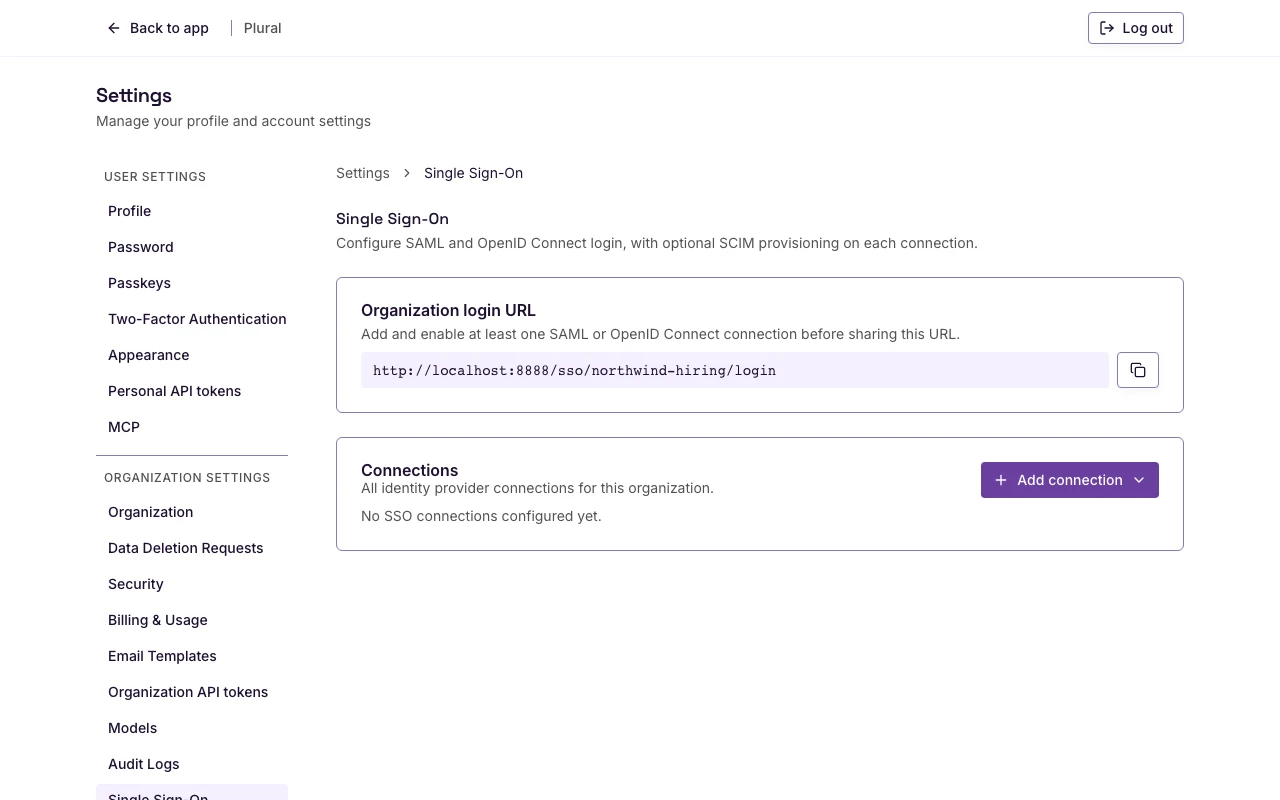
OpenID Connect connection
- Select Add connection.
- Select Add OpenID Connect.
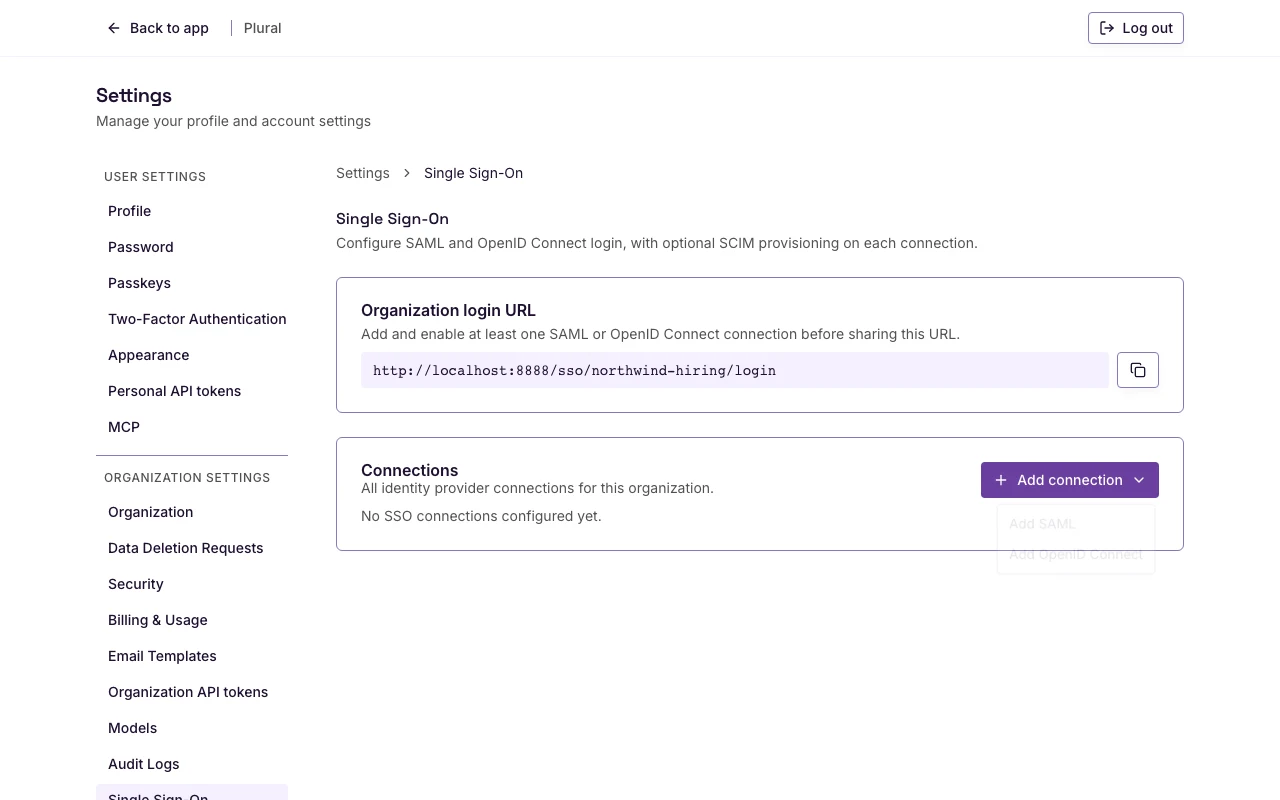
The page title is New OpenID Connect connection. The first step is From your IdP.
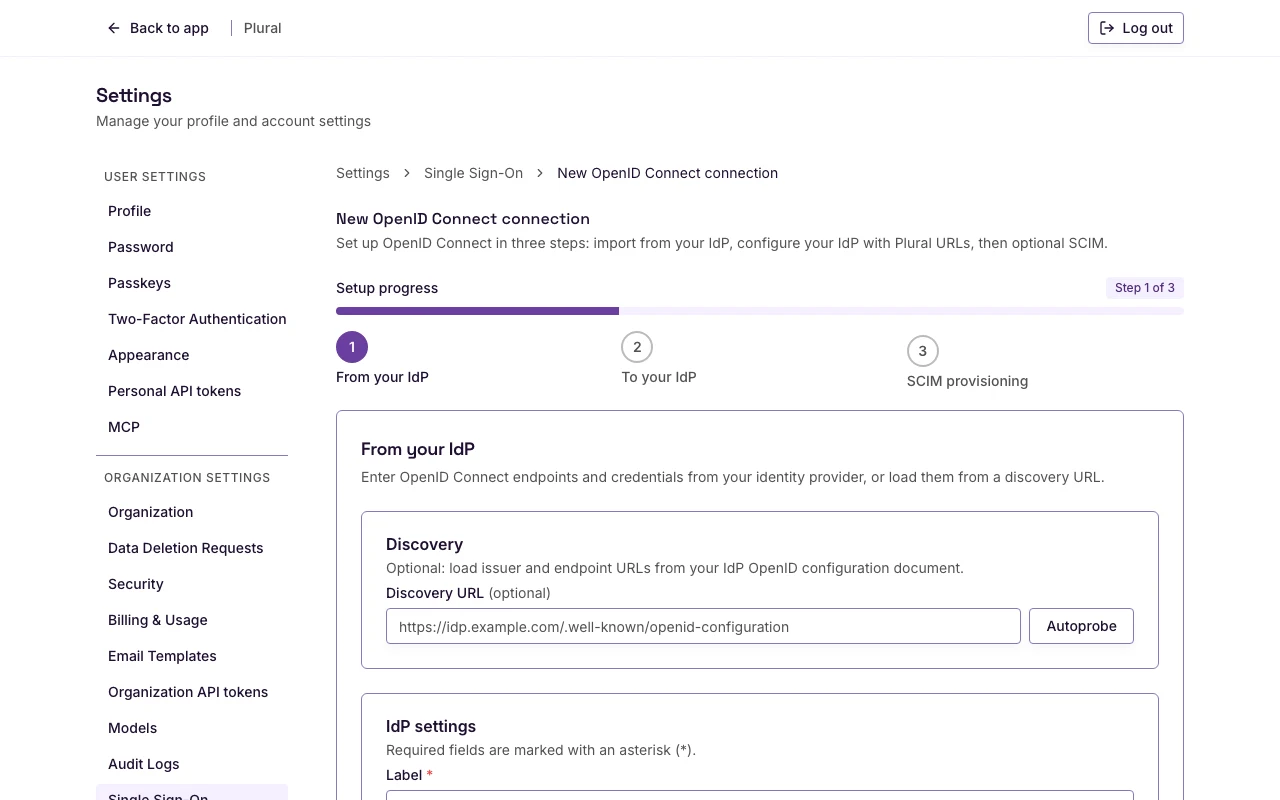
Required fields show an asterisk (). The hint is **Required fields are marked with an asterisk ().**
Discovery document
This card is optional. Discovery fills the issuer and endpoint URLs for you.
- In Discovery URL, type the OpenID configuration URL. Example:
https://idp.example.com/.well-known/openid-configuration. - Select Autoprobe.
The success message is Discovery document loaded. If the URL is empty, the form shows: Discovery URL is required.
IdP settings
- In Label, type a name people will see.
- In Slug, type a short identifier if you do not want the value that Plural fills.
- In Issuer URL, type the issuer URL.
- In Authorize URL, type the authorization endpoint.
- In Token URL, type the token endpoint.
- In JWKS URL, type the JWKS URI.
- In Client ID, type the client ID from your identity provider.
- In Client secret, type the client secret if your identity provider uses one. This field is optional.
If a required field is empty, the form shows a message such as Label is required. or Client ID is required.
Select Save & continue.
The success message is OpenID Connect connection created.
Redirect URI
The second step is To your IdP.
- Copy Redirect URI.
- In your identity provider, add that URI as the callback URL for the OpenID Connect application.
- Select Continue.
The redirect URI uses the connection slug. The path looks like /sso/oidc/northwind-oidc/callback.
SCIM
The third step is SCIM provisioning. You can finish without SCIM.
To enable SCIM:
- Turn on Sync groups if you want IdP groups mapped to organization groups. The description is Map IdP groups to organization groups.
- Select Enable SCIM provisioning.
The success message is SCIM provisioning enabled.
After SCIM is on:
- Copy SCIM base URL into your identity provider.
- Turn Active on or off. The description is Allow SCIM requests for this connection.
- Change Sync groups if you need to.
- Select Save SCIM settings.
- In Token name, keep Primary token or type a new name.
- Select Generate token. Copy the token now. Plural shows it once.
- Select Finish.