
How to add a passkey
Register a passkey so you can sign in with Face ID, Touch ID, Windows Hello, or a security key.
A passkey is a sign-in method. You use Face ID, Touch ID, Windows Hello, or a security key. You do not type a password each time.
Passkeys are not the same as Two-Factor Authentication. That setting is a separate page.
Before you start
- You must be signed in.
- You can add passkeys only for your own account.
- Your browser must support passkeys. If it does not, the page shows: Passkeys are not supported in this browser.
- You must have your account password. Plural asks you to confirm it before it creates the passkey.
View Passkeys
- Open Settings.
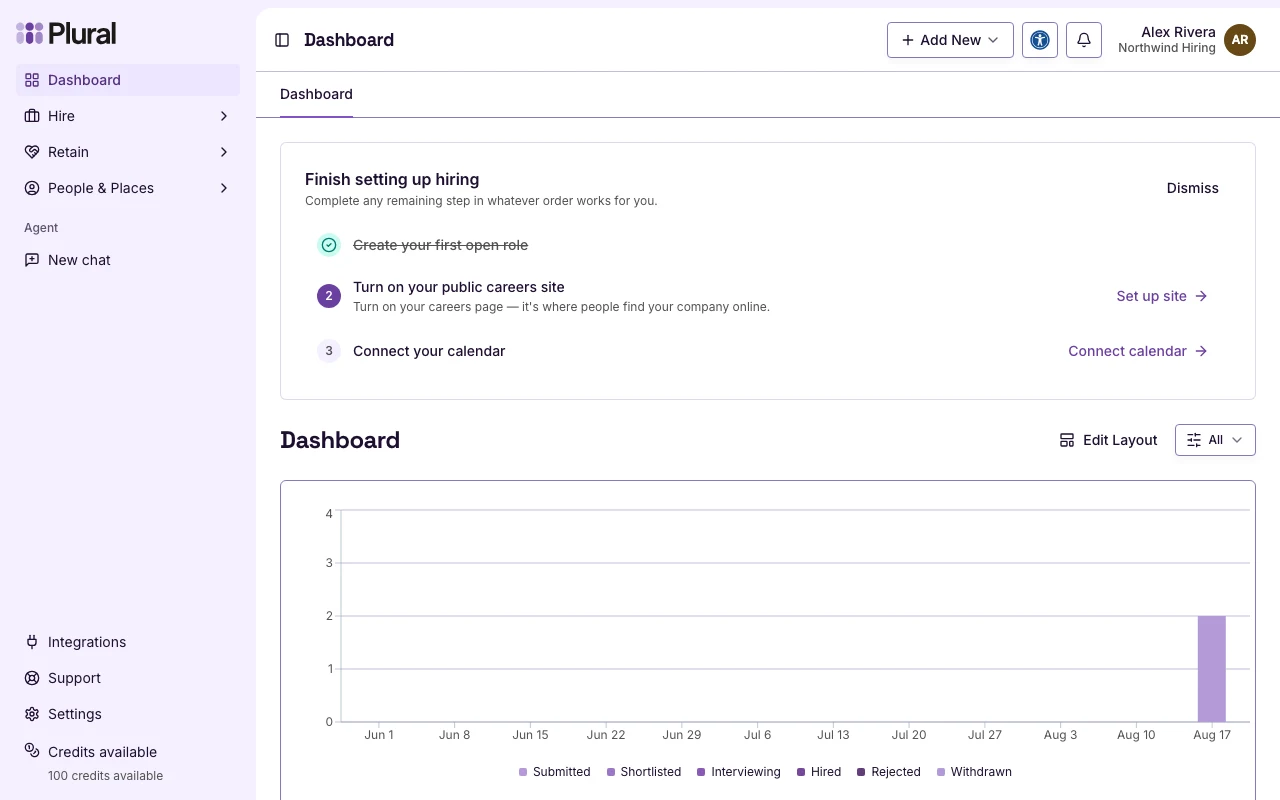
- Under User settings, select Passkeys.
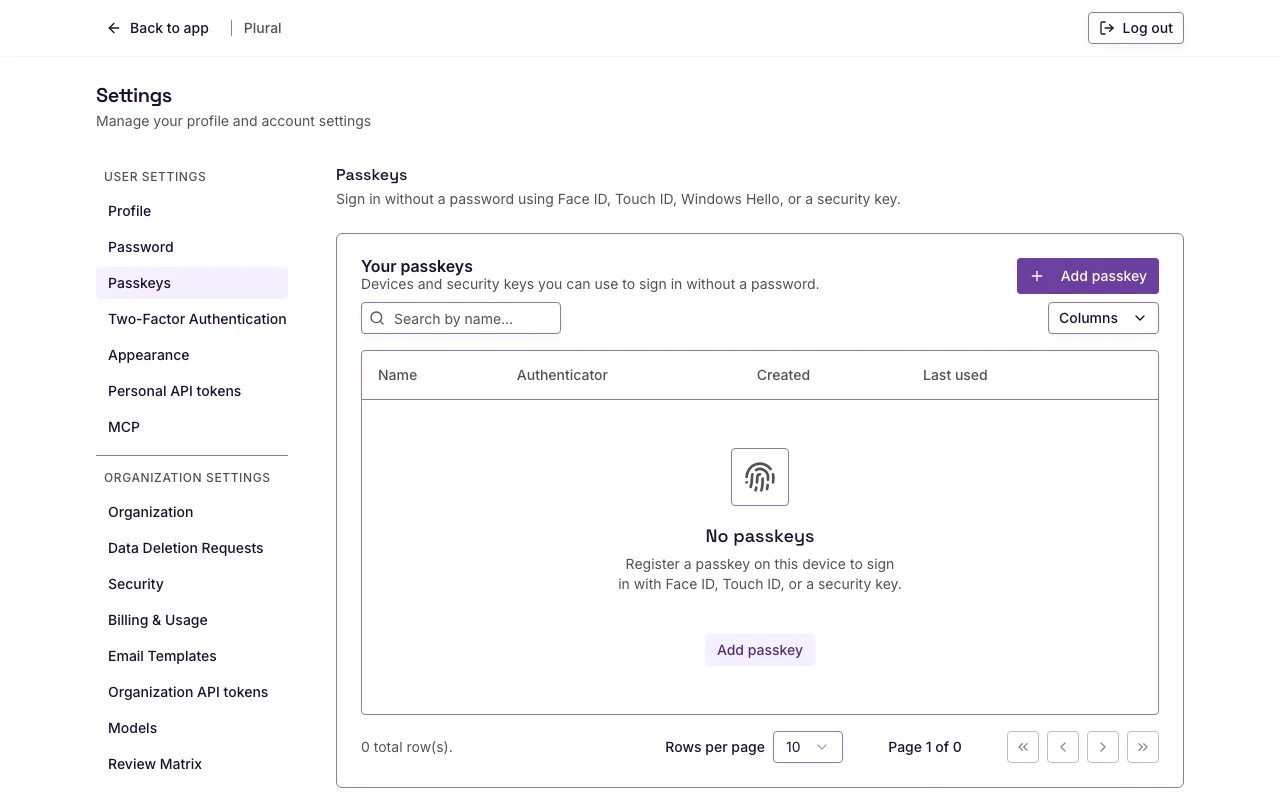
The Settings page title is Settings. The text below that title is Manage your profile and account settings.
The Passkeys heading is Passkeys. The text below that heading is Sign in without a password using Face ID, Touch ID, Windows Hello, or a security key.
The Your passkeys card lists devices you already registered. The text below that card title is Devices and security keys you can use to sign in without a password.
If you have no passkeys, the card shows No passkeys. The text below that heading is Register a passkey on this device to sign in with Face ID, Touch ID, or a security key.
Add a passkey
- Select Add passkey. The empty state also has an Add passkey control.
The dialog title is Add a passkey. The text below the title is Choose a name for this device, then follow your browser prompt to create a passkey.
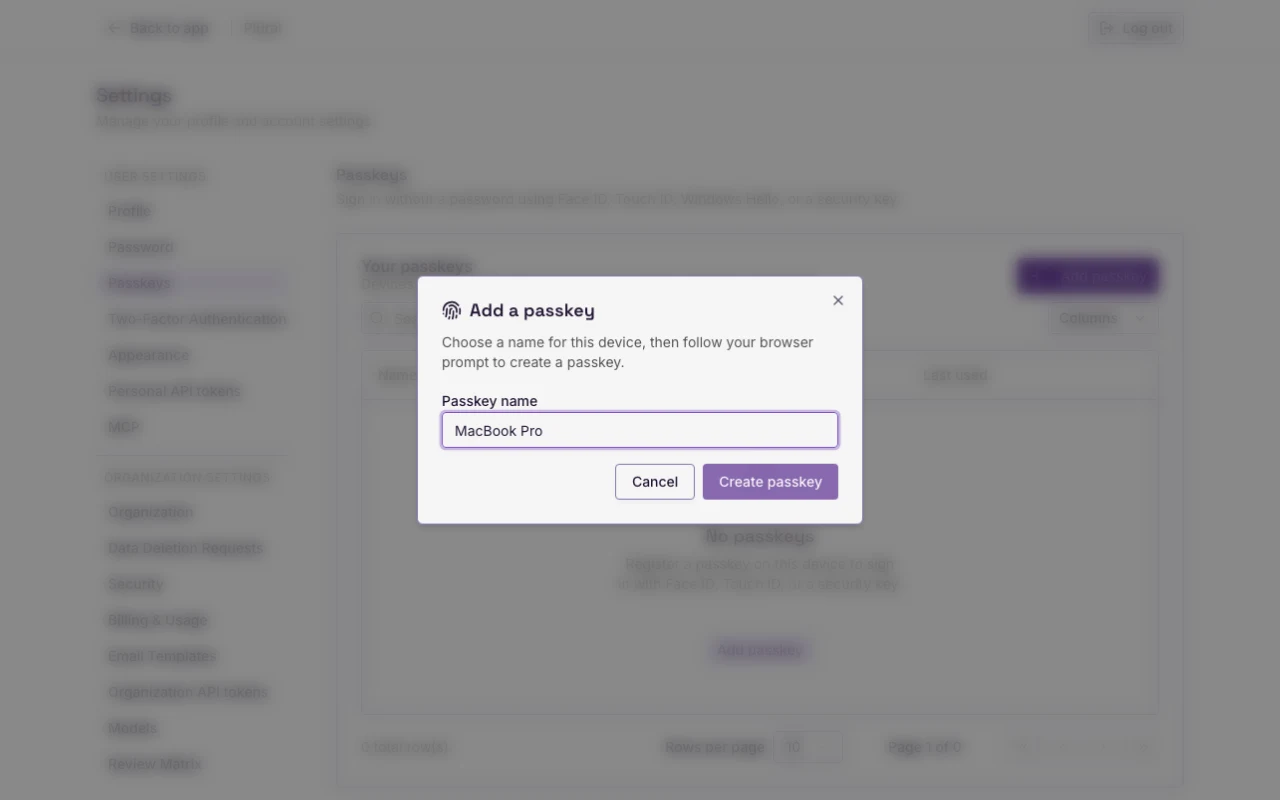
- In Passkey name, type a name for the device. This example uses MacBook Pro.
- Select Create passkey. Select Cancel to close the dialog without a new passkey.
The dialog title is Confirm your password. The text below the title is Confirm your password before registering a new passkey.
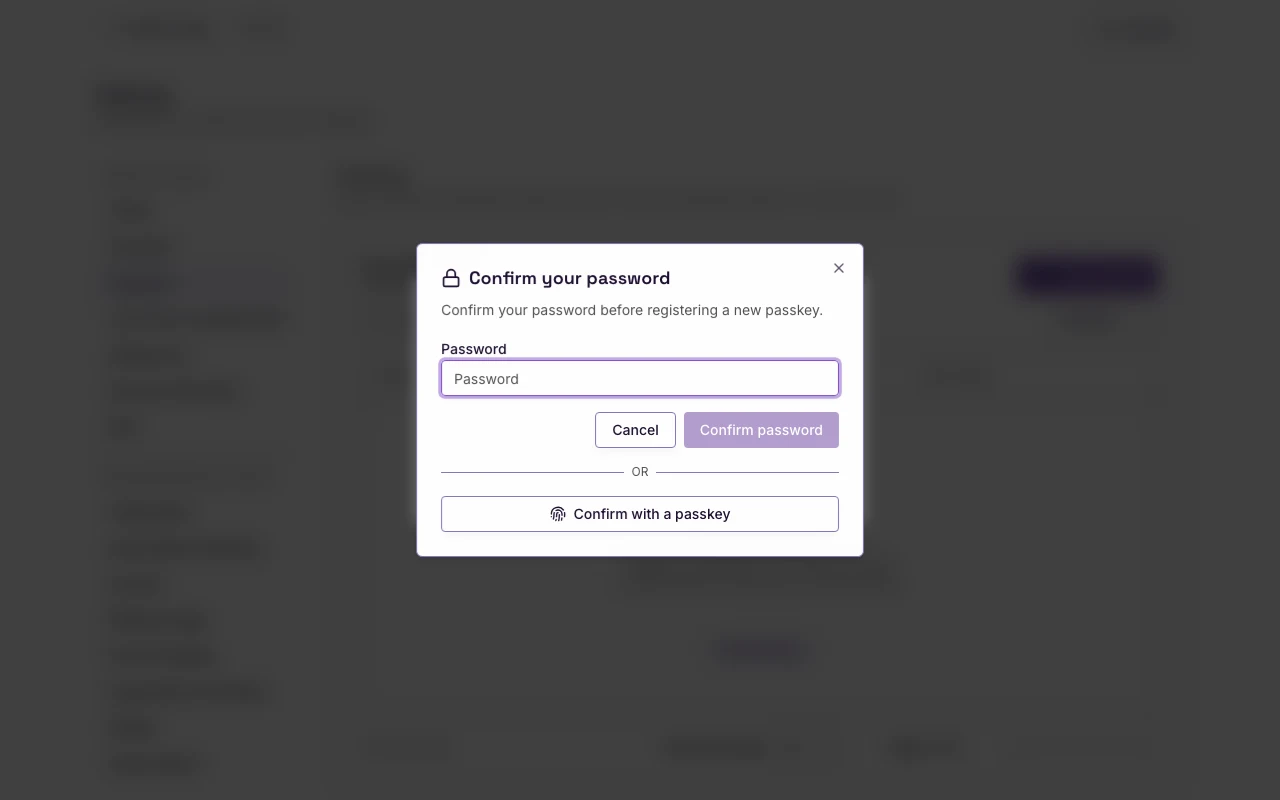
- In Password, type your account password.
- Select Confirm password. Select Cancel to stop.
- Complete the prompt that your browser or device shows.
The dialog can also show Confirm with a passkey. Use that control only if you already have a passkey.
If the session expired, the page shows: Your session expired. Refresh the page and try again.
If registration fails, the page shows: Unable to register this passkey.
After you finish
The passkey appears in Your passkeys. The table has these columns: Name, Authenticator, Created, and Last used.
Last used shows Never until you sign in with that passkey. If the authenticator name is empty, the row shows Passkey.
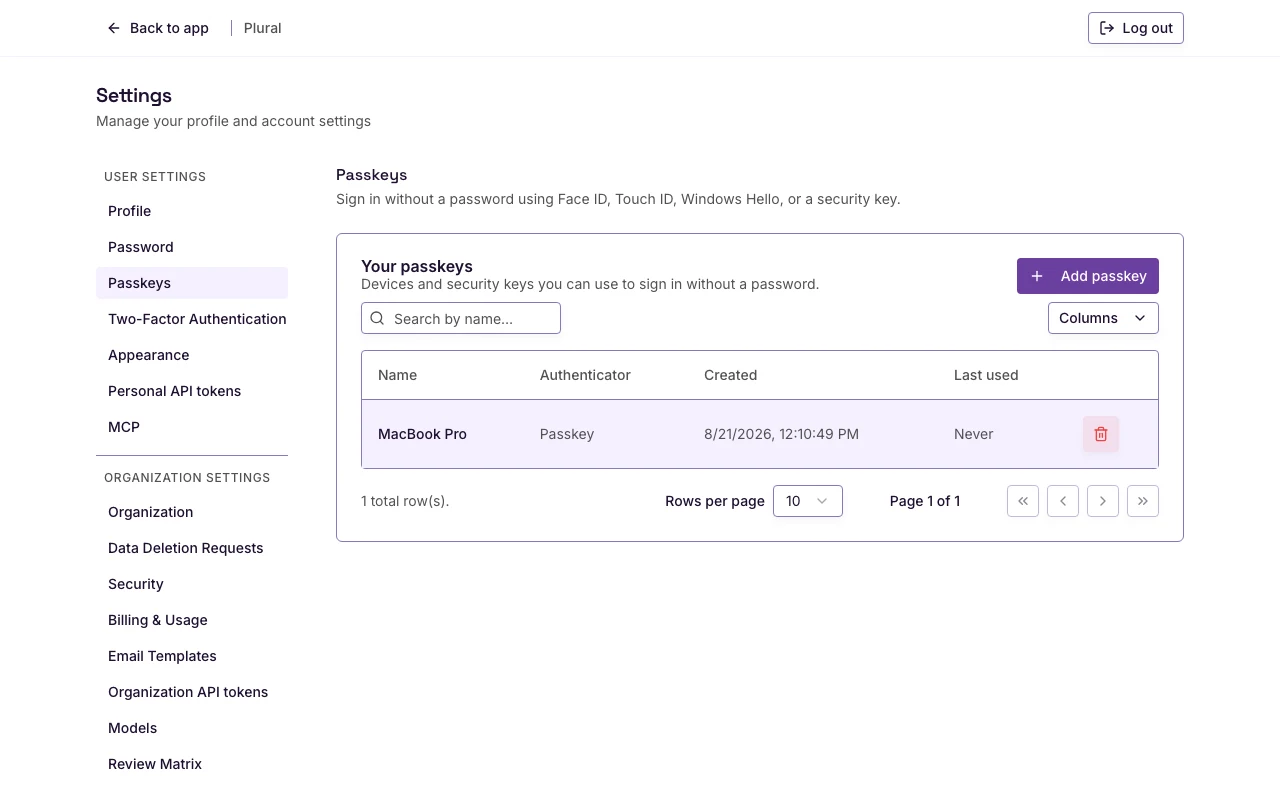
You can add more than one passkey. Use a different name for each device.
On the Log in page, select Sign in with a passkey.