
Editing automations
View a saved automation, change the trigger or steps, then save.
You can change a saved automation. The same canvas is used to create and to edit.
Before you start
- You must be signed in.
- These plans include this feature: Hire, Hire + Retain, and Enterprise.
- These roles can change an automation: Owner, Administrator, Hiring Manager, and Office Administrator.
- The automation must already exist. To create one, see Creating automations.
View Automations
- Open Hire, then open Automations.
- If the page shows templates, you have no saved automations yet.
- If the page shows a table, select the automation name.
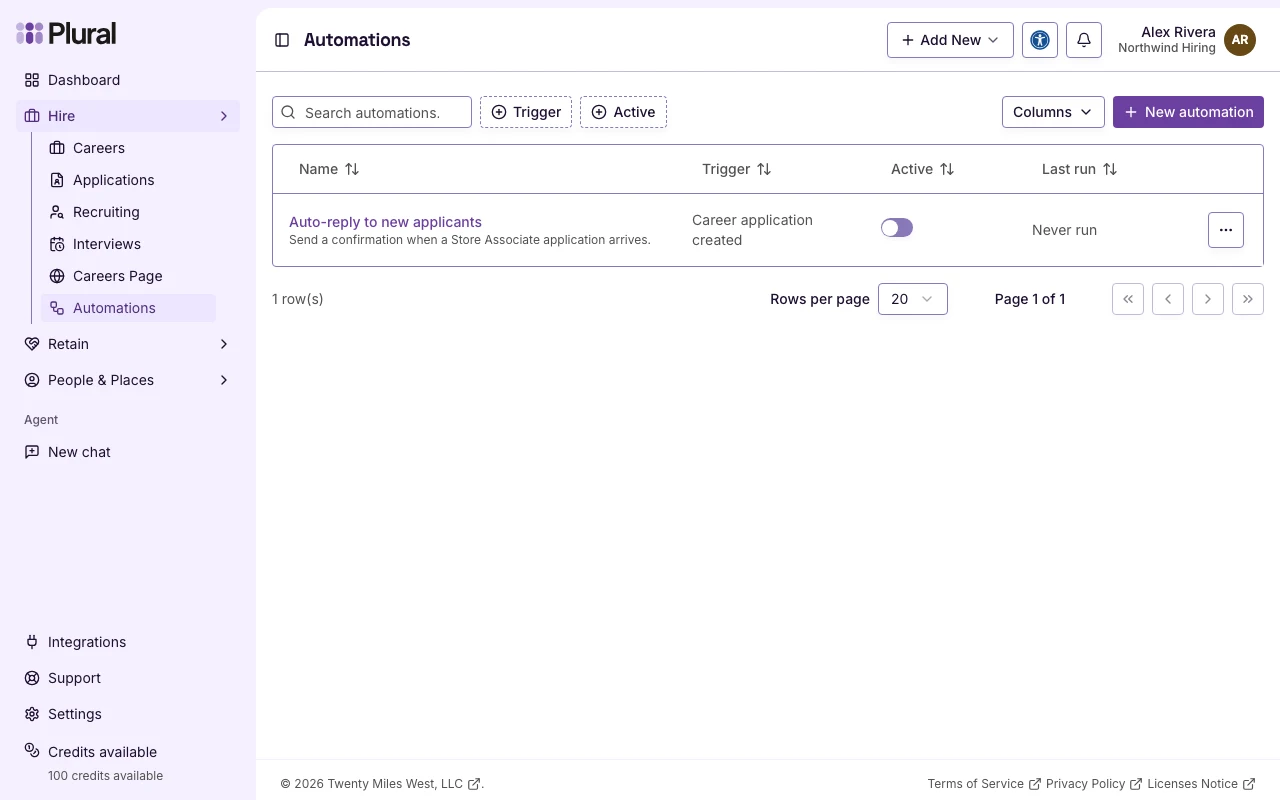
You can also open the row Actions menu, then select Edit.
The editor opens on the Edit tab.
Workflow
- Select a step on the canvas.
- Change the settings in Step settings.
- Select Change trigger to pick a different start event. Condition rules may need an update.
- Select Change action to pick a different action. The current settings are cleared.
- Select + to add a step. Select Only continue if…, Wait for a while, or an action.
- Open the step Actions menu to Move earlier, Move later, Rename, or Delete.
The trigger cannot be deleted. A Condition step cannot move as one block.
Save
- Select Save changes.
- Turn Enabled on or off if you want the workflow to start or stop.
- Select Save changes again if you changed Enabled.
The page shows Automation saved or Automation saved and enabled.
If you leave with unsaved changes, the page asks you to confirm.
Other list actions
On the Automations table, open the row Actions menu:
- Edit — open the canvas.
- Duplicate — copy the workflow. The page shows Automation duplicated.
- Run Automation — start a Manual trigger now.
- View runs — open Run history.
- View logs — open Logs.
- Delete — remove the automation.
On the editor, Actions also has Rename, Edit description, and Delete.