
Creating automations
Create a workflow with a trigger, conditions, and actions, then save.
An automation is a workflow. It starts when something happens in Plural. Then it runs the steps you set.
Before you start
- You must be signed in.
- These plans include this feature: Hire, Hire + Retain, and Enterprise.
- These roles can create an automation: Owner, Administrator, Hiring Manager, and Office Administrator.
The create flow has three parts: start from a template or from scratch, set the canvas, then save.
View Automations
- Open Hire, then open Automations.
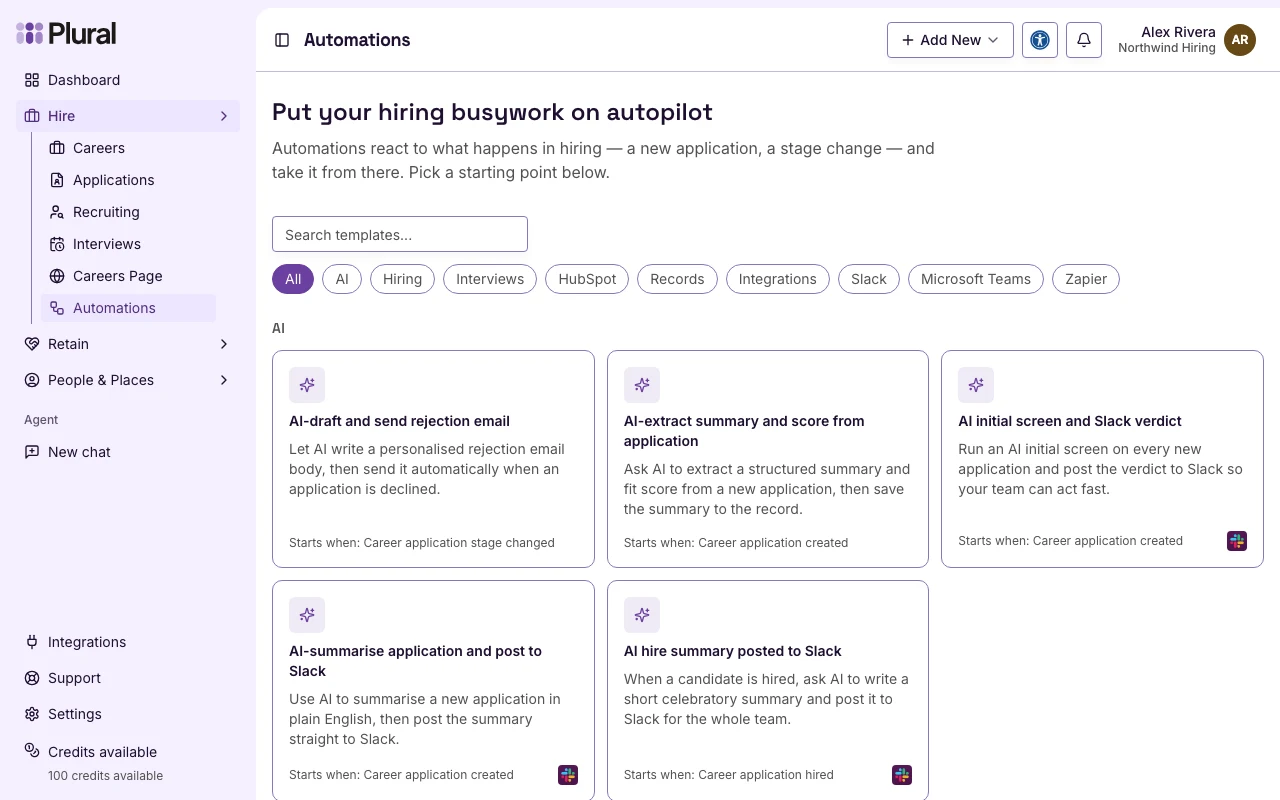
- If you have no automations, the page shows ready-made templates. The heading is Put your hiring busywork on autopilot.
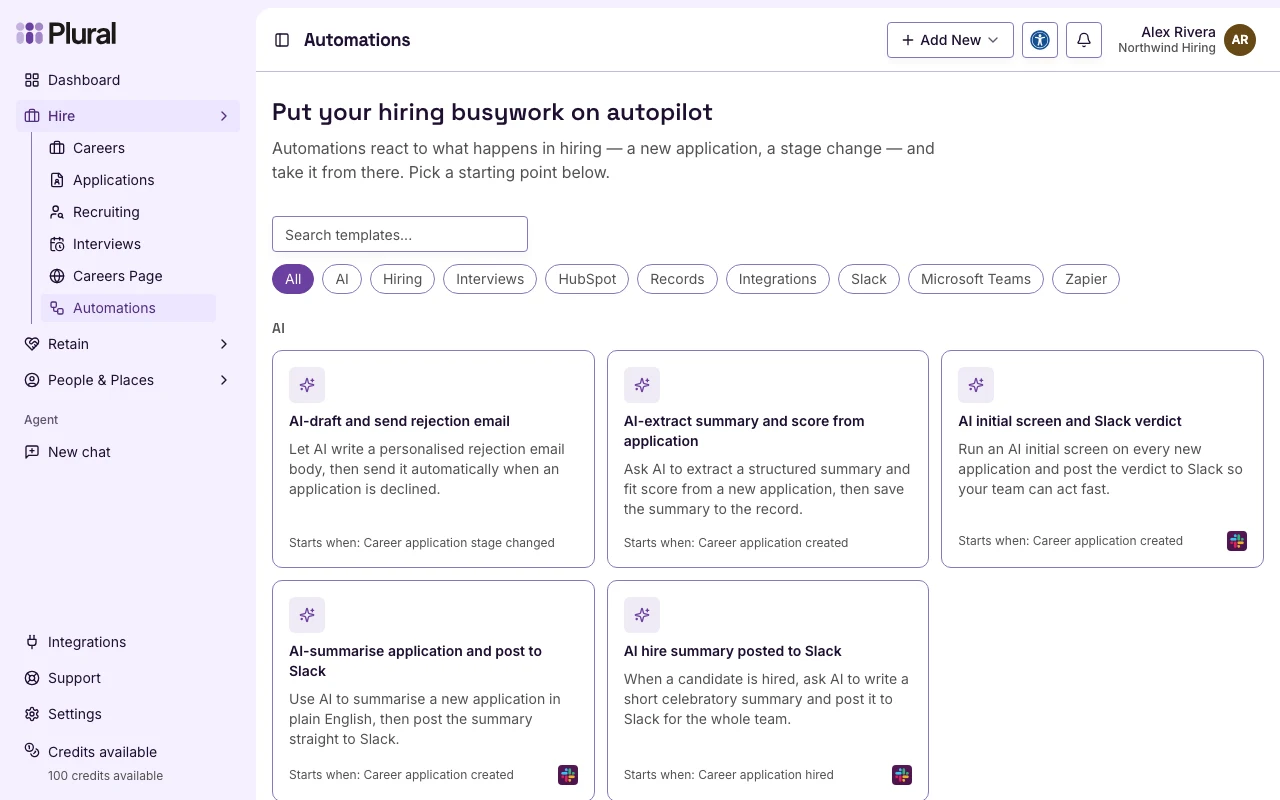
- If you already have automations, select New automation. The next page title is New automation. The heading is What should this automation do?
Workflow
Select a template, or select Start from scratch.
A template opens the editor with a trigger and steps already set. You can change every step before you save.
This example uses Auto-reply to new applicants. That template starts when Career application created fires. It then runs Send candidate email.
- Select Auto-reply to new applicants.
The canvas opens with the trigger and the first action.
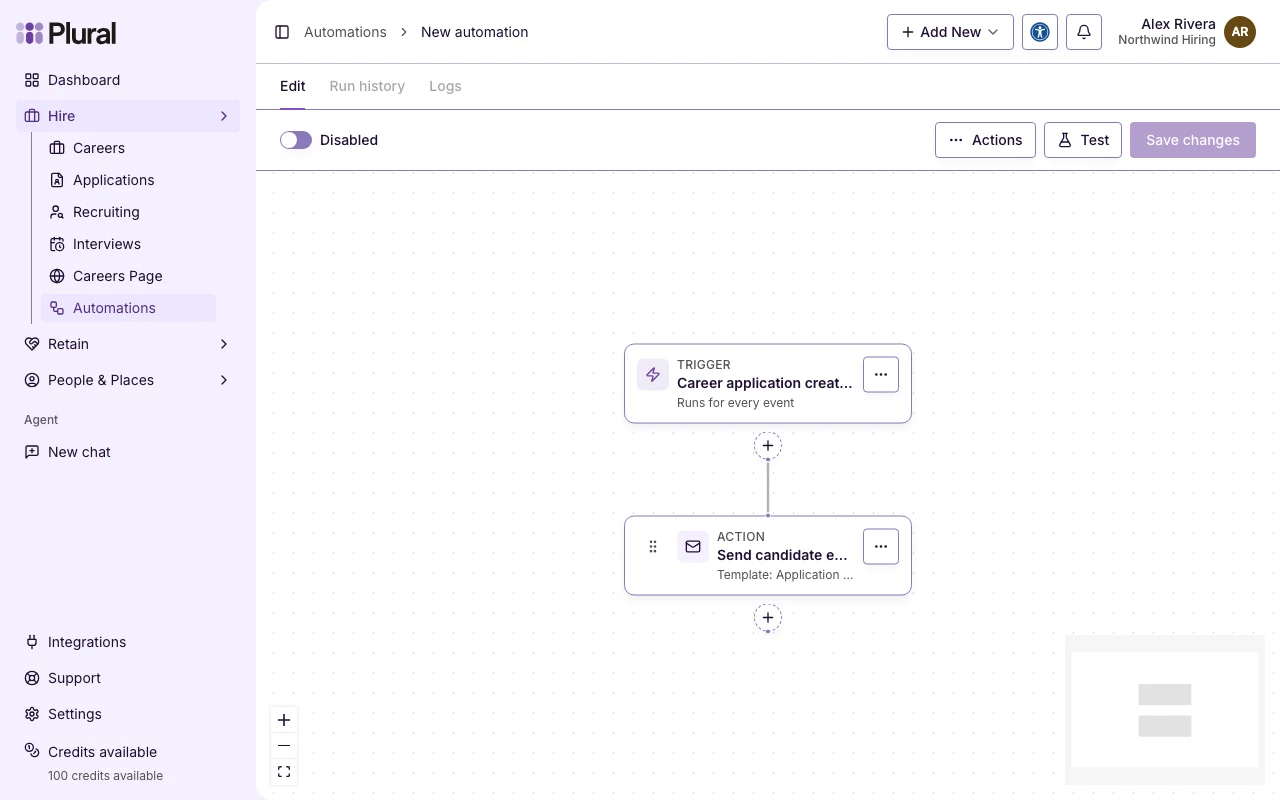
If you select Start from scratch, the canvas has one Trigger step.
Canvas
The canvas shows the workflow as a chain of steps. Each card has a type label. The labels are Trigger, Condition, Delay, and Action.
The workspace tabs are Edit, Run history, and Logs. Run history and Logs stay disabled until you save.
- Select a step to open Step settings.
- Select + under a step to open Add a step.
- In Add a step, pick the next step.
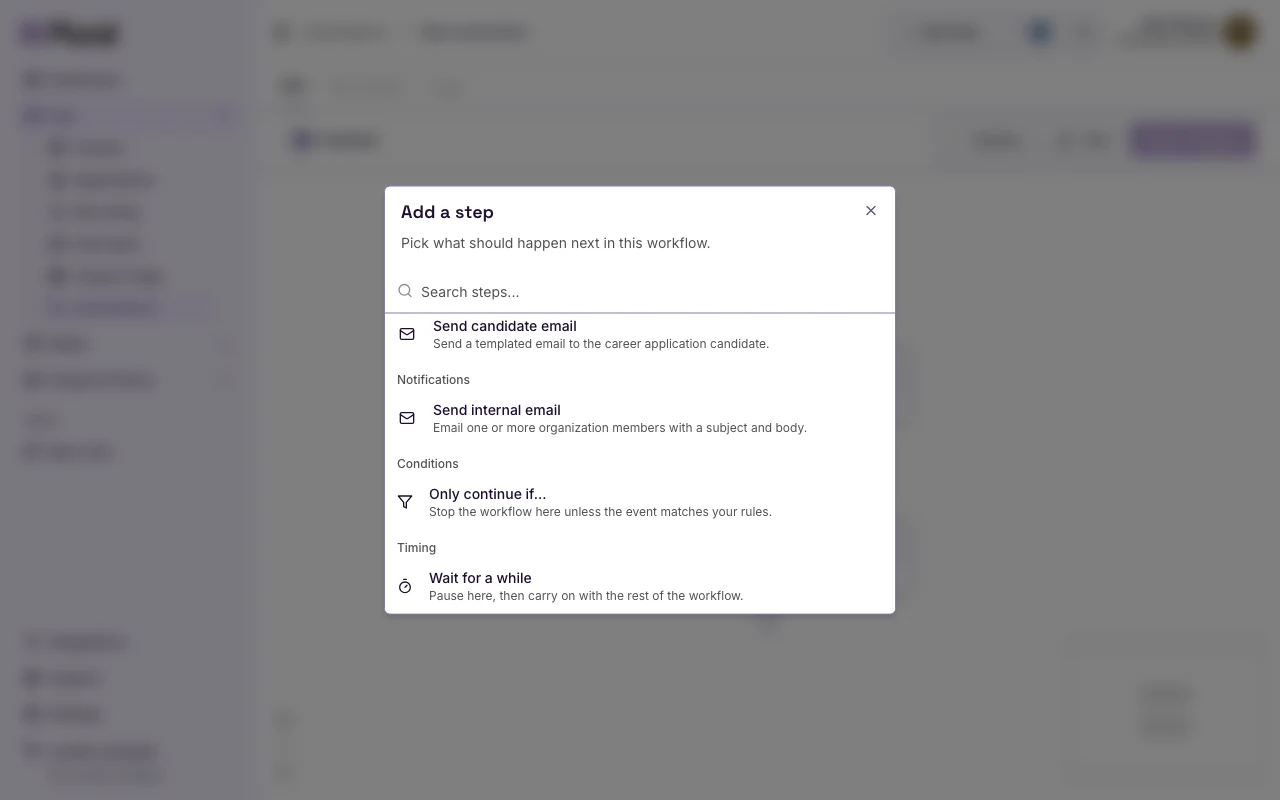
The Add a step list has three groups:
- Actions from the catalog, grouped by category.
- Conditions — Only continue if…
- Timing — Wait for a while
The header has Enabled or Disabled, Actions, Test, and Save changes.
Actions includes Rename, Edit description, and Delete. Delete appears after you save.
Trigger
- Select the Trigger card.
- Select Change trigger.
- Select the event that must start the workflow.
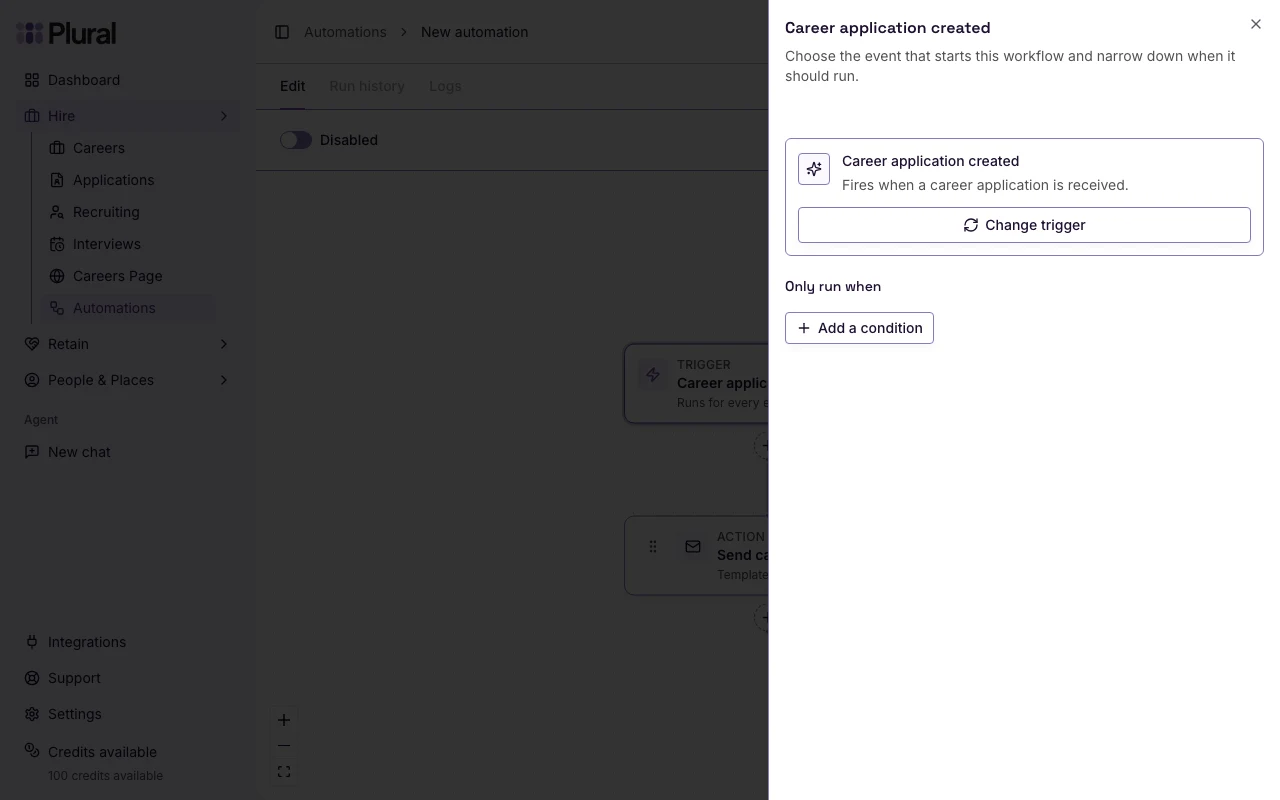
The trigger list uses these labels.
Hiring
- Career application created
- Career application hired
- Career application interview cancelled
- Career application interview scheduled
- Career application stage changed
People
- Candidate added
- Employee added
- New user added
Timing
- Manual — you start the workflow. After you save, select Run Automation.
- On a schedule — the workflow starts on a repeating schedule.
If you select On a schedule, set Schedule:
- In Cadence, select Every day, Weekdays (Mon–Fri), or Weekly on selected days.
- If you select Weekly on selected days, select the days.
- In Time, set the clock time.
- In Timezone, select the timezone.
Some actions need application data from the trigger. If an action is not available, the picker shows Needs application context from the trigger.
Only run when
On the trigger, Only run when limits when the workflow starts. If you add no rule, the workflow runs for every event.
- Select Add a condition.
- In Field, select a value from the trigger data.
- In Comparison, select how to compare.
- In Value, enter or select the match.
If you add more than one rule, Run when appears. Select all rules match or any rule matches.
Select Add another condition to add a rule. Open the rule Actions menu to Delete rule.
Comparison labels:
- is
- is not
- is any of
- contains
- changed to
- is greater than
- is at least
- is less than
- is at most
- is set
- is not set
is set and is not set do not need a value.
Add a condition step
Only run when sits on the trigger. Only continue if… is a later Condition step.
- Select + under a step.
- Select Only continue if…
- In If, add the same field, comparison, and value rules.
When the rules pass, the workflow continues on Yes. When the rules fail, it continues on No.
On an empty branch, select Add a step on Yes or Add a step on No. The branch end shows End.
Wait
- Select + under a step.
- Select Wait for a while.
- In Wait for, enter the amount.
- Select minutes, hours, days, or seconds.
The workflow pauses at this step. Then it continues. The longest wait is 30 days.
Add an action
- Select + under a step.
- Select an action.
- Fill the fields in Step settings.
Select Change action to pick a different action. A change clears the current settings.
The action list uses these labels.
Hiring
- Send candidate email — set Template, Career, Subject, and Message. Templates include Application received, Application rejected, Interview requested, Interview confirmed, and Interview cancelled.
Notifications
- Send internal email — set Recipients, Subject, and Body.
Interviews
- Complete current interview stage — optional Override stage (optional).
- Send next interview scheduling link — optional Override stage (optional).
Records
- Update application status — set New status.
- Update application field — set Field and Value. Field options are Score, Score comment, and Compensation expectation.
- Delete application — turn on Confirm deletion.
AI
- Generate text — set Prompt and Output format. Output format options are Plain text and JSON object. If you select JSON object, set JSON output keys.
- Run AI agent — set the same Prompt and Output format fields.
Integrations
- Fire outbound webhook — set Endpoint URL, JSON body, Destination, and Event name.
- HTTP Webhook
- Send Slack message — set Connection, Destination, then Channel or User, and Message. Destination options are Channel and Direct message.
- Send Microsoft Teams message — set Connection, Channel, and Message.
- Trigger Zapier webhook — set Zapier connection and Event name.
- Update HubSpot record — set HubSpot connection, Object type, Match by property, Match value, and Properties to update.
Utility
- Log — set Message and Level. Level options are Debug, Info, Warning, and Error.
- No-op
You can insert {{ variables from the trigger or from earlier steps into text fields.
Save
- Select Actions, then select Rename.
- In Name, type a name your team will recognize. This example uses Auto-reply to new applicants.
- Select Done.
- Select Actions, then select Edit description if you want a short note.
- Select Save changes.
The page shows Automation saved.
To turn the workflow on:
- Fix every warning. Select warnings to read the list. The list title is Warnings.
- Turn on Enabled.
- Select Save changes.
The page shows Automation saved and enabled.
You can select Test to try the workflow without waiting for a live event.