
Managing SAML
Add a SAML identity provider, copy Plural URLs into your IdP, and turn on optional SCIM.
A SAML connection lets people in your organization sign in with your identity provider. The setup has three steps: From your IdP, To your IdP, and SCIM provisioning.
Before you start
- You must be signed in.
- These plans include this feature: Enterprise.
- These roles can add a SAML connection: Owner and Administrator.
- Have SAML values from your identity provider: entity ID, SSO URL, and signing certificate. You can also import metadata from a URL, pasted XML, or an XML file.
View Single Sign-On
- Open your user menu. Then select Settings.
- Under Organization settings, select Single Sign-On.
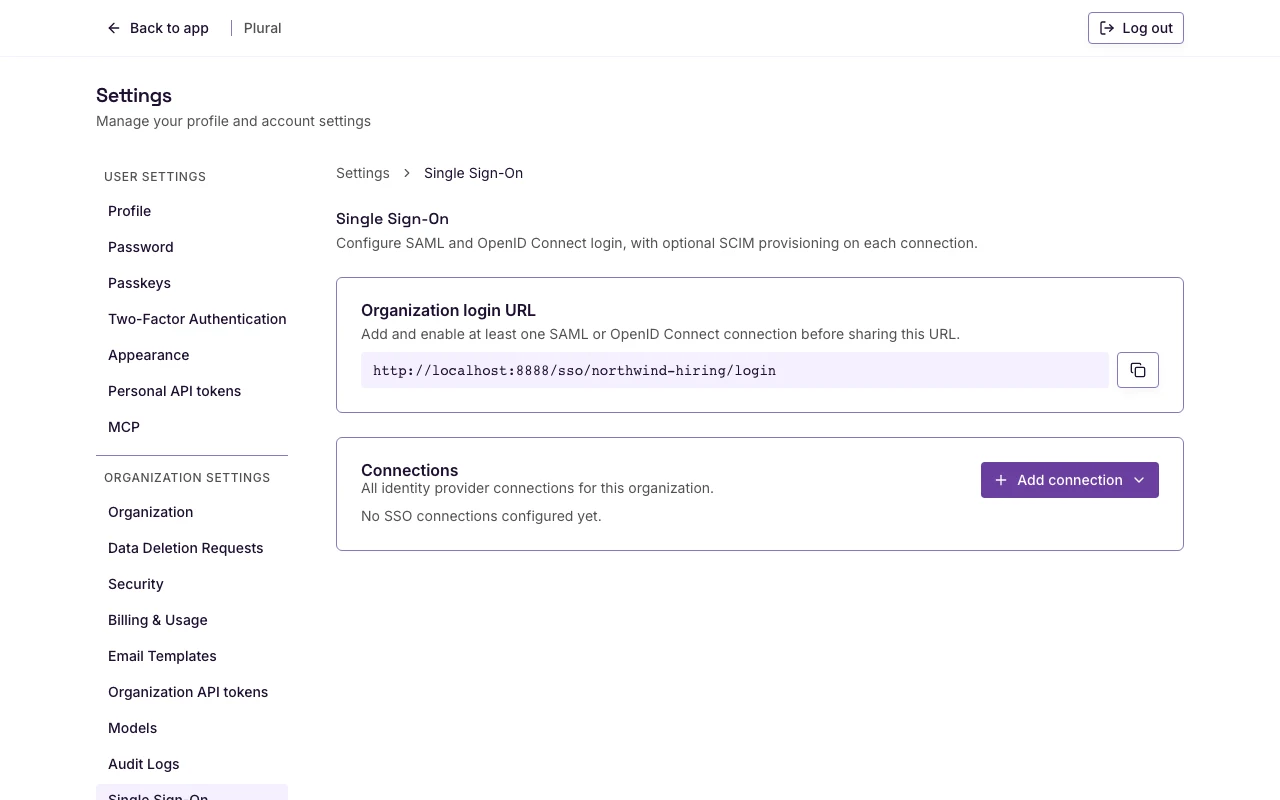
The page title is Single Sign-On. The description is Configure SAML and OpenID Connect login, with optional SCIM provisioning on each connection.
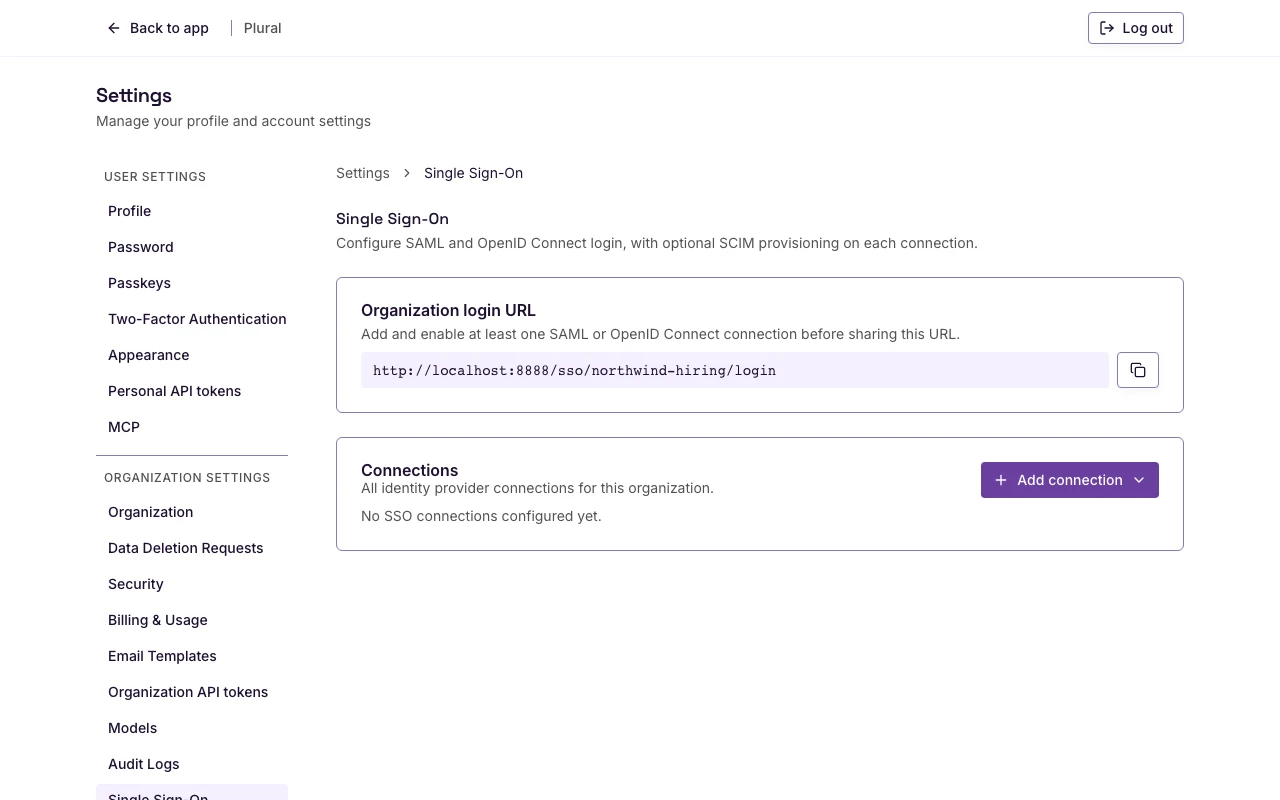
SAML connection
- Select Add connection.
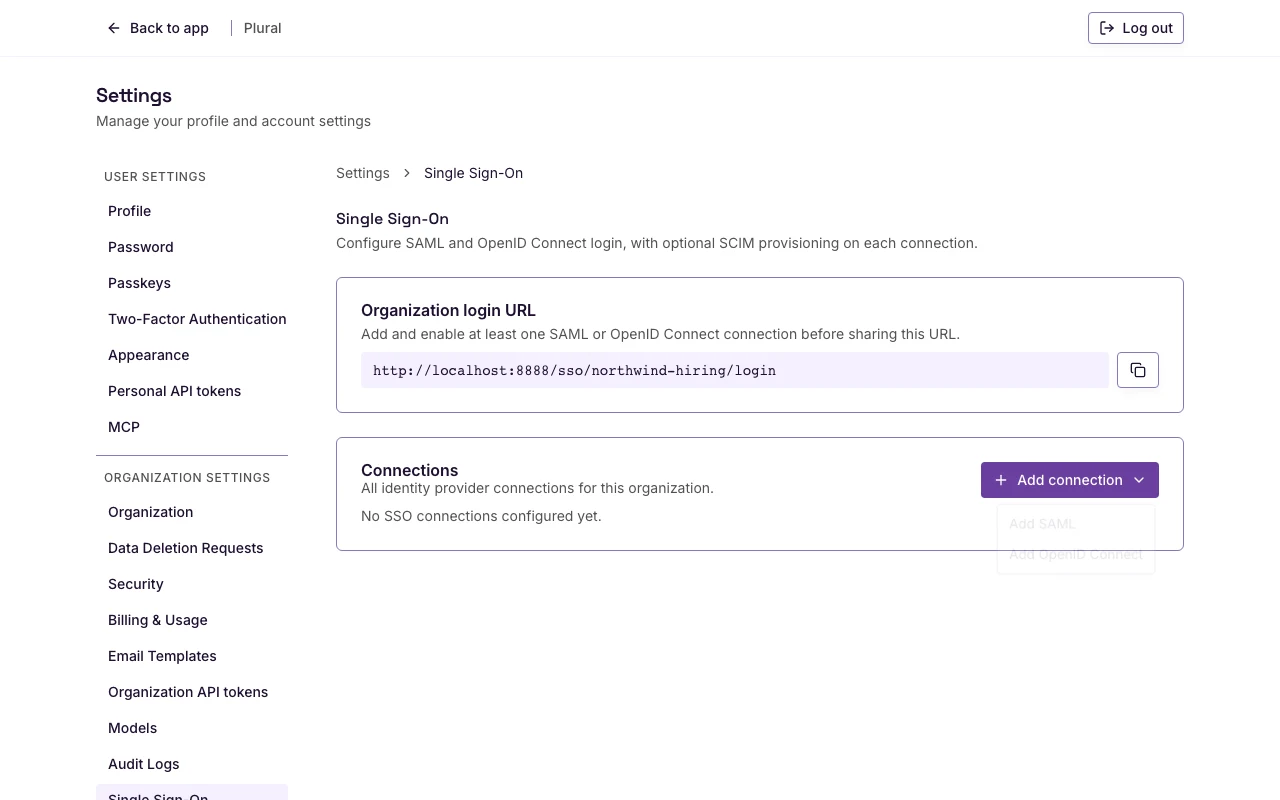
- Select Add SAML.
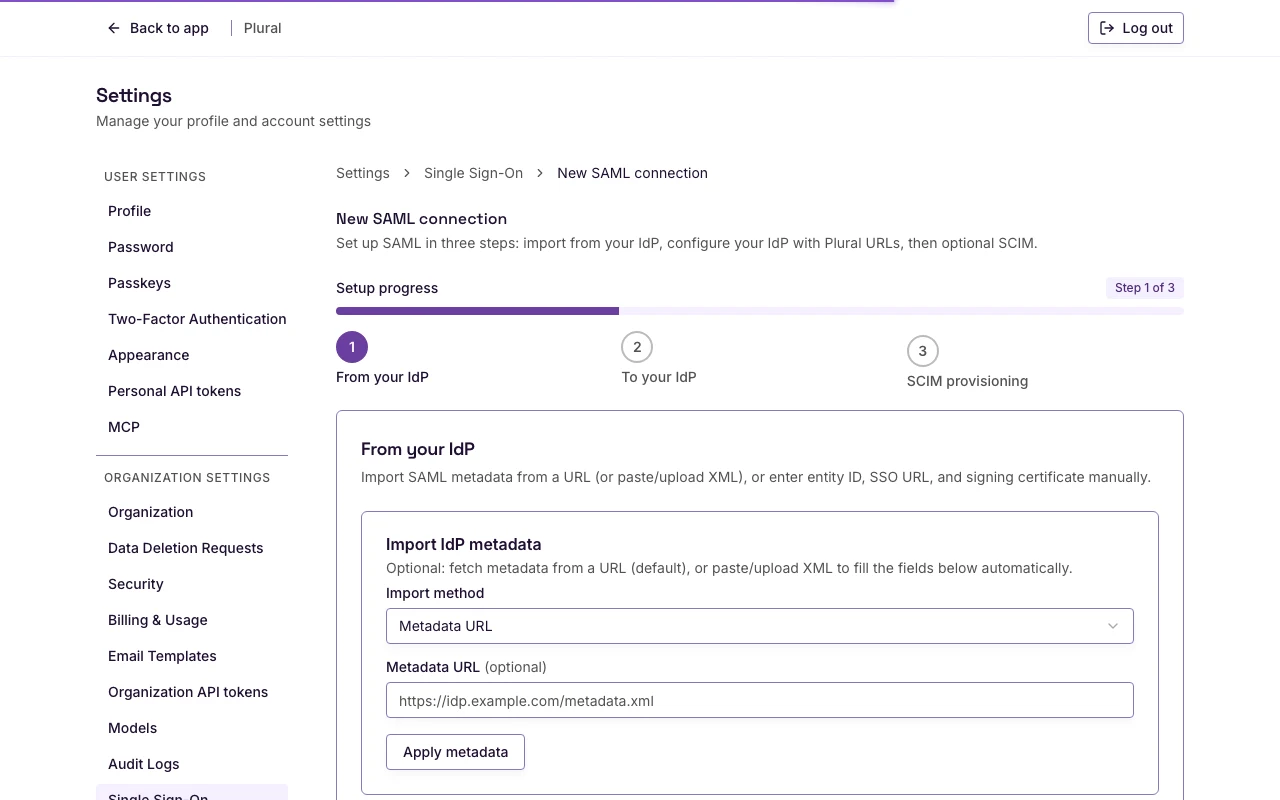
The page title is New SAML connection. The first step is From your IdP.
Required fields show an asterisk (). The hint is **Required fields are marked with an asterisk ().**
IdP metadata
This card is optional. Import fills the IdP settings for you.
- In Import method, select one option: Metadata URL, Paste XML, or Upload file. Metadata URL is the default.
- If you selected Metadata URL, type the URL in Metadata URL.
- If you selected Paste XML, type the XML in Metadata XML.
- If you selected Upload file, select Choose XML file. Then select an XML file.
- Select Apply metadata.
The success message is IdP metadata loaded.
If the URL is empty, the form shows: Enter a metadata URL. If the XML is empty, the form shows: Paste SAML metadata XML. If no file is selected, the form shows: Choose a metadata XML file.
IdP settings
- In Label, type a name people will see. Example:
Northwind IdP. - In Slug, type a short identifier if you do not want the value that Plural fills. Example:
northwind-idp. - In IdP entity ID, type the entity ID from your identity provider.
- In IdP SSO URL, type the sign-on URL from your identity provider.
- In IdP SLO URL, type the logout URL if your identity provider has one. This field is optional.
- In Certificate input, select Paste certificate or Upload file.
- For Paste certificate, type the certificate in IdP signing certificate.
- For Upload file, select Choose certificate file. Use a PEM or base64-encoded
.cerfile.
If you do not enter a label, the form shows: Label is required. If you do not enter an entity ID, the form shows: IdP entity ID is required. If you do not enter an SSO URL, the form shows: IdP SSO URL is required. If you do not enter a certificate on a new connection, the form shows: IdP signing certificate is required.
Select Save & continue.
The success message is SAML connection created.
Plural URLs
The second step is To your IdP. Copy each value into the matching field in your identity provider.
- Copy Sign-on URL (IdP app link / default relay).
- Copy ACS URL (Assertion Consumer Service).
- Copy Metadata URL / SP Entity ID.
- Save the SAML application in your identity provider.
- Select Continue.
SCIM
The third step is SCIM provisioning. You can finish without SCIM.
To enable SCIM:
- Turn on Sync groups if you want IdP groups mapped to organization groups. The description is Map IdP groups to organization groups.
- Select Enable SCIM provisioning.
The success message is SCIM provisioning enabled.
After SCIM is on:
- Copy SCIM base URL into your identity provider.
- Turn Active on or off. The description is Allow SCIM requests for this connection.
- Change Sync groups if you need to.
- Select Save SCIM settings.
- In Token name, keep Primary token or type a new name.
- Select Generate token. Copy the token now. Plural shows it once.
- Select Finish.