
Creating surveys
Create an engagement survey, set the questions and audience, and schedule it.
An engagement survey asks employees how they feel about work. Plural calculates an engagement score from the answers.
The answers are anonymous.
Before you start
- You must be signed in.
- These plans include this feature: Retain, Hire + Retain, and Enterprise.
- These roles can create an engagement survey: Owner and Administrator.
- The create flow has four steps: Details, Questions, Audience, and Review.
View Engagement
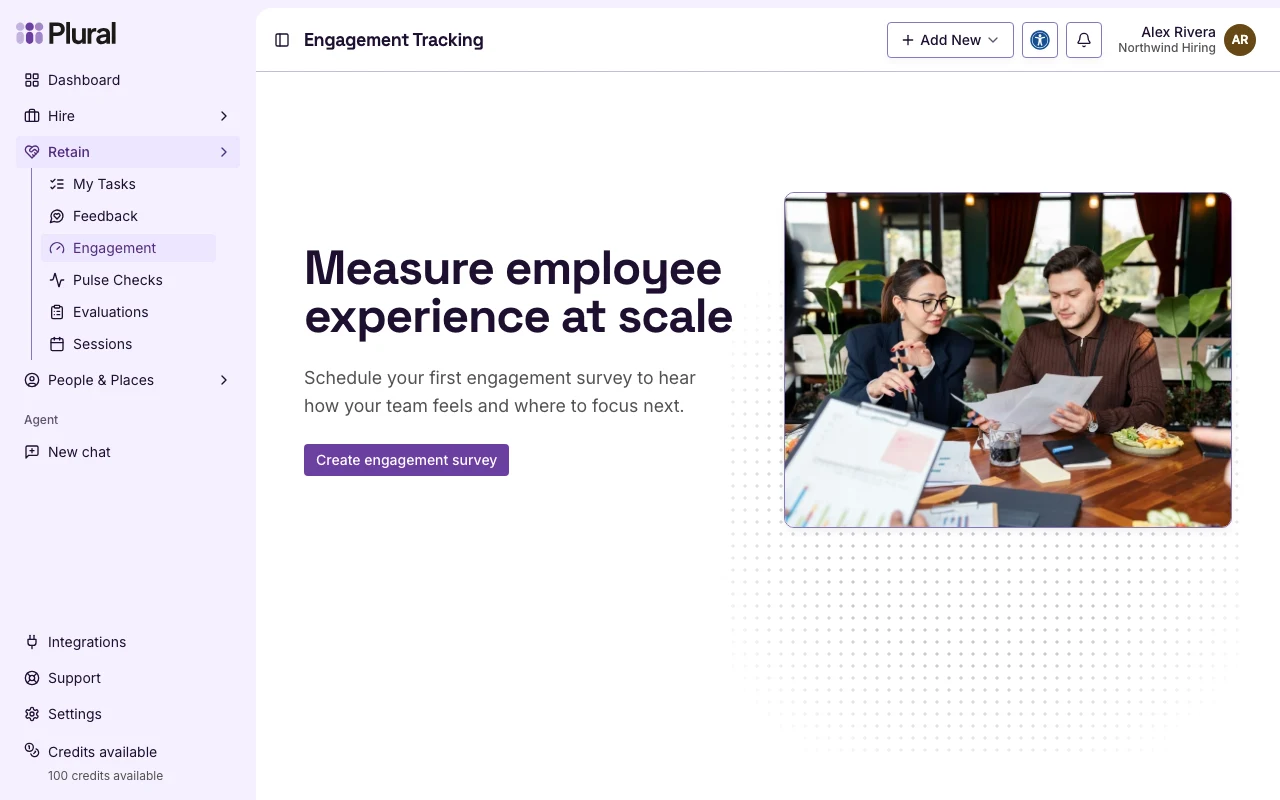
- Open Retain, then open Engagement.
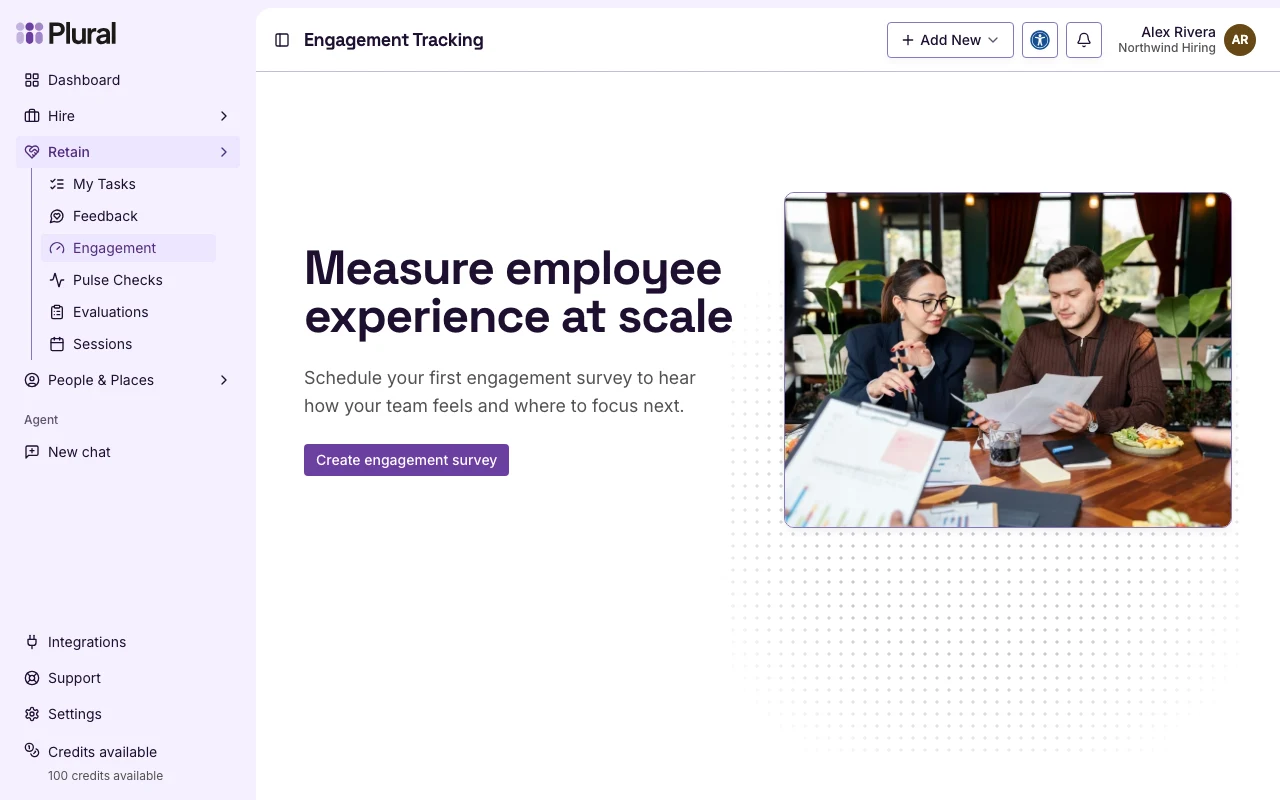
The page title is Engagement Tracking.
- Select Create engagement survey if you have no surveys. Select New survey if the survey list is already on the page.
Survey details
The page title is Create engagement survey. The card title is Survey details. Required fields have an asterisk.
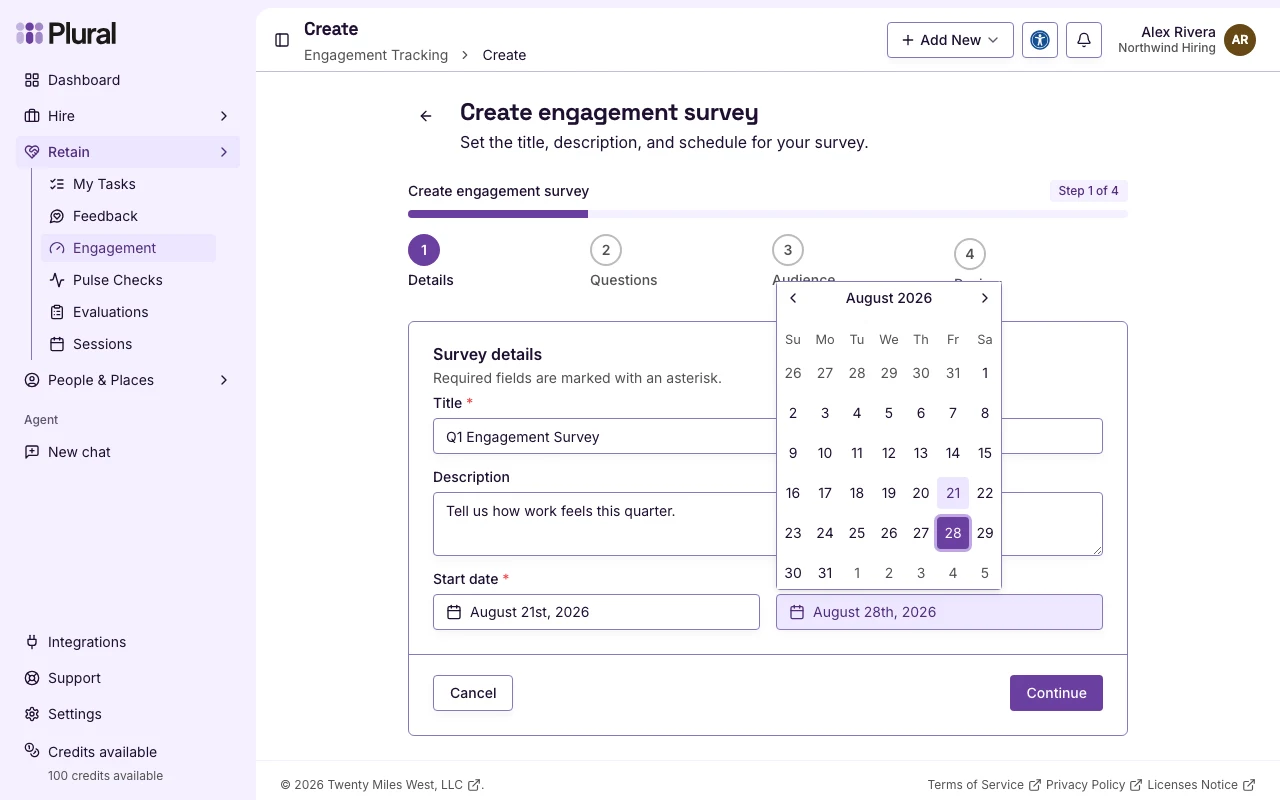
- In Title, type the name of the survey. This example uses Q1 Engagement Survey. The title can have up to 255 characters.
- In Description, write why you send the survey. This field is optional.
- In Start date, select the first day that people can respond.
- In End date, select the last day. The end date must be after the start date.
- Select Continue.
Select Cancel to return to Engagement Tracking.
If the start date is today, the survey can open as soon as you schedule it. If the start date is later, the status stays Scheduled until that day.
Questions
The page title is Survey questions.
Plural includes two default questions. You can change the question text. You cannot remove these questions.
- Recommendation score question — respondents choose a score from 0 to 10. The default text is How likely are you to recommend this organization as a place to work?
- Follow-up question — optional long text. The default text is What is the primary reason for your score?
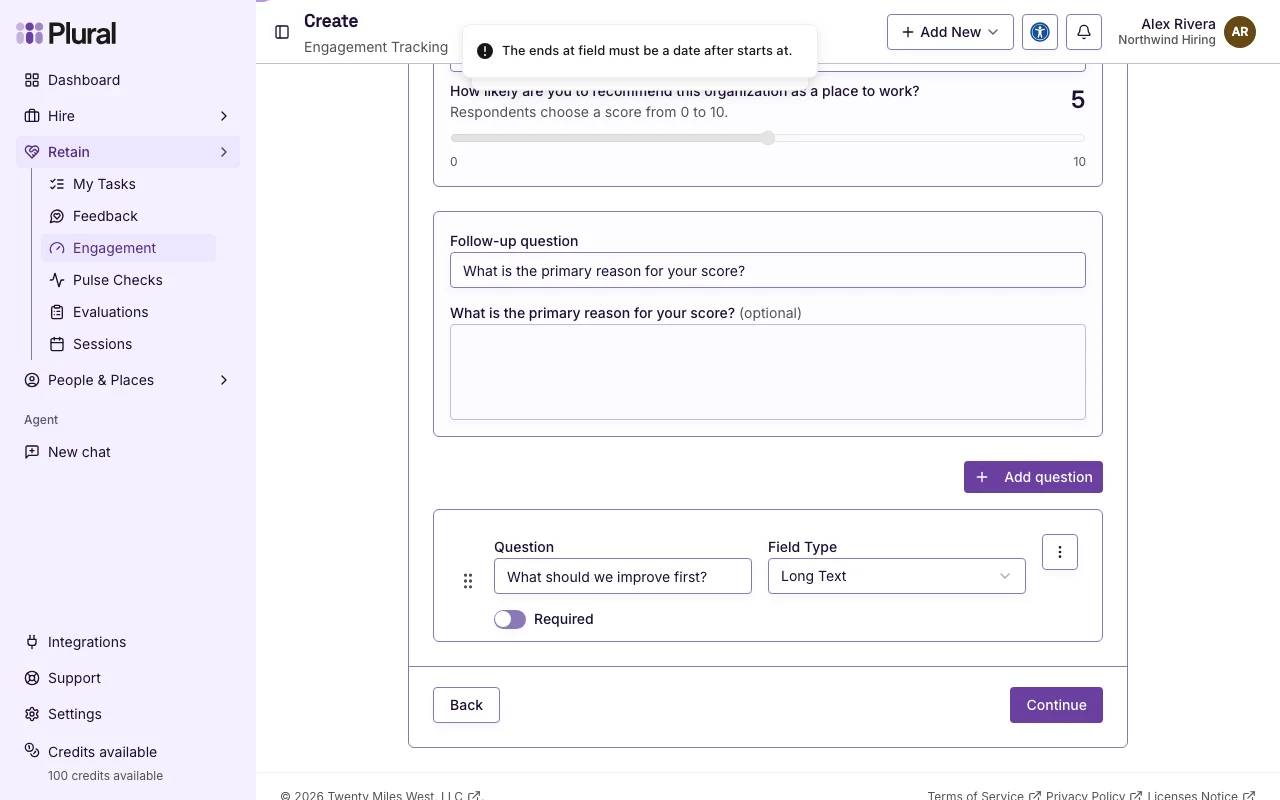
- Edit the default question text if you need different wording.
- Select Add question if you want an extra question.
- In Question, type the prompt.
- In Field Type, select the input type.
- Turn on Required if the person must answer.
- For Dropdown, Radio Buttons, and Checkboxes, enter Options (one per line).
- Select Continue.
Select Back to return to survey details.
Extra question types
- Short Text — one line.
- Long Text — several lines.
- Email — an email address.
- Number — a number.
- URL — a web link.
- Dropdown — one choice from a list.
- Radio Buttons — one choice, with all options visible.
- Checkboxes — more than one choice.
- Date — a date.
- Time — a time of day.
A short extra question can ask What should we improve first? as Long Text.
Audience
The page title is Survey audience. The card title is Who should receive this survey?
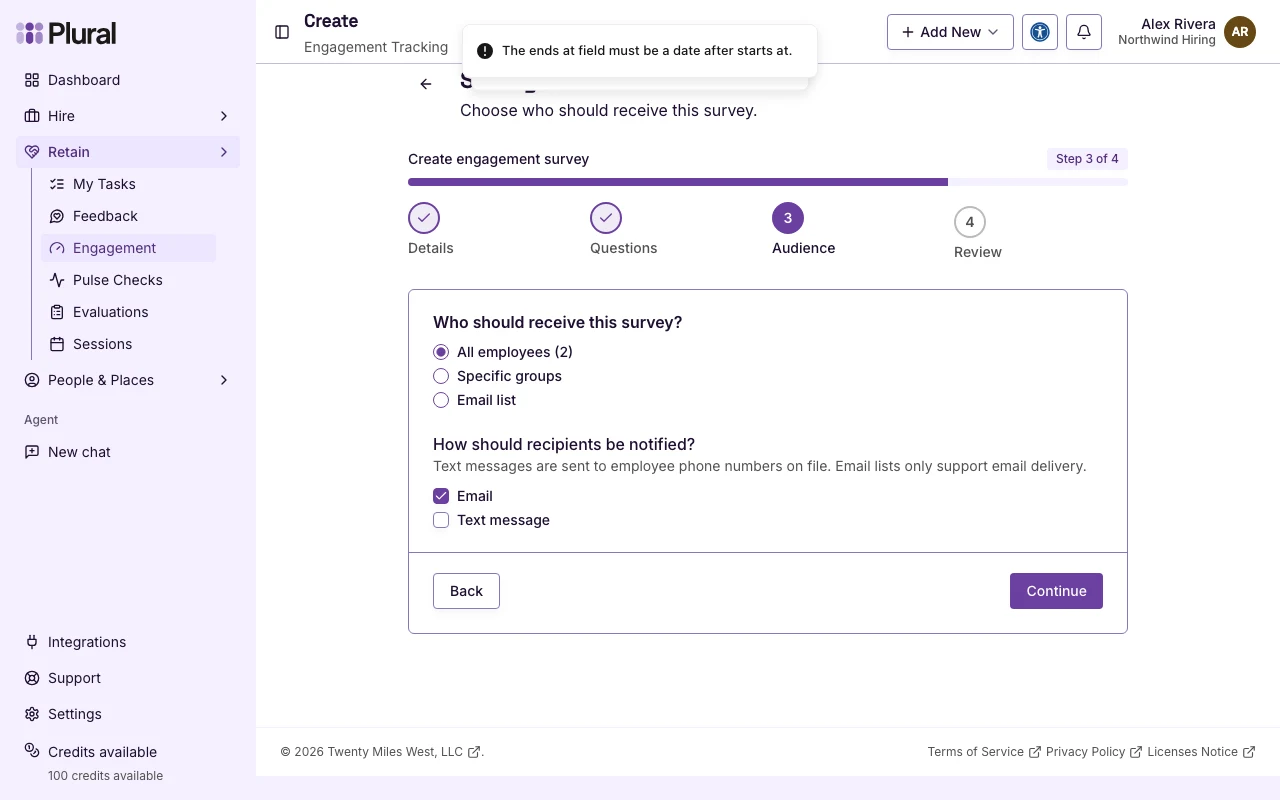
- Select who receives the survey.
- Select how recipients are notified.
- Select Continue.
Select Back to return to survey questions.
Audience options
- All employees — every employee in the organization. The label shows the count.
- Specific groups — only the groups you select. The field placeholder is Select groups.
- Email list — people you add by email. Paste addresses in Paste emails (comma, semicolon, or newline separated).
Notification options
The heading is How should recipients be notified?
- Email — send a message to the email address on file.
- Text message — send a message to the phone number on file.
You must keep at least one channel. Email lists support Email only.
Review
The page title is Review survey. The card title is Review and schedule.
The page shows Title, Schedule, Delivery, and Audience.
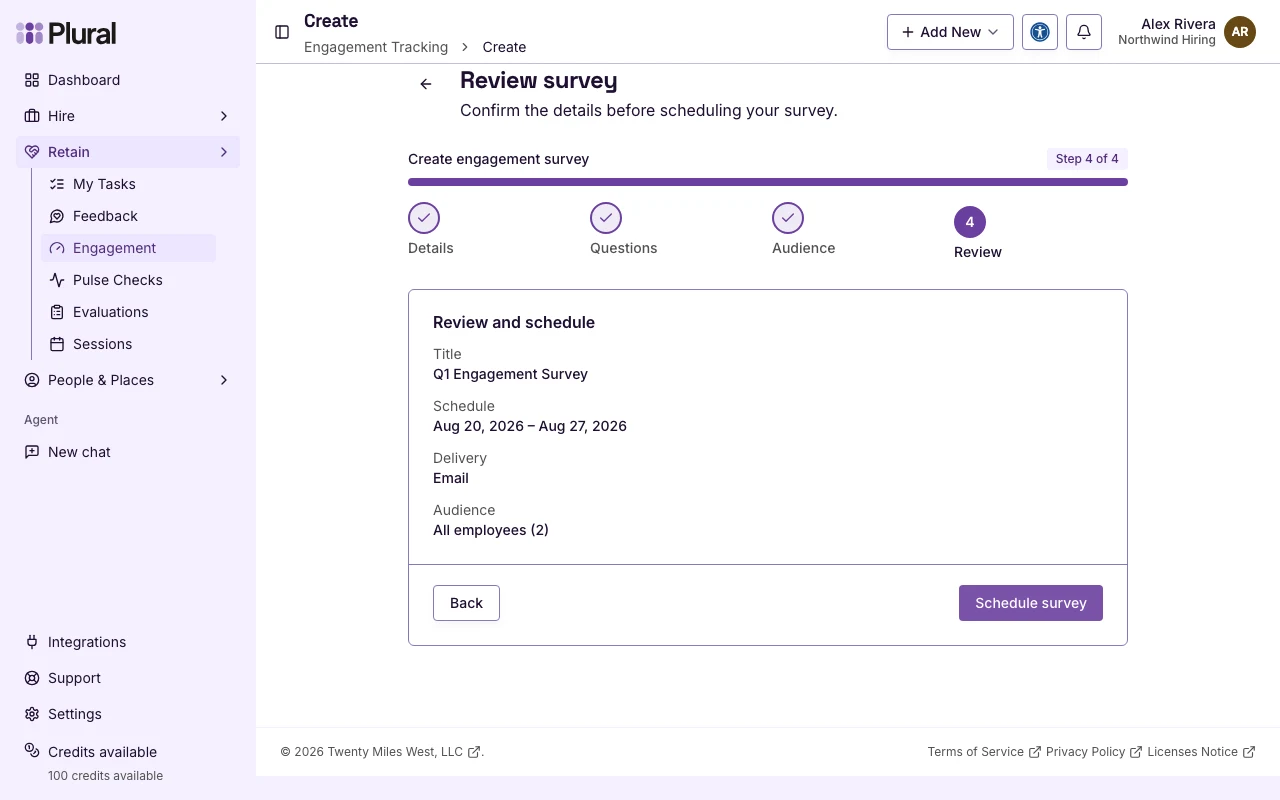
- Confirm the details.
- Select Schedule survey.
Select Back to return to the audience step.
If a step is not complete, the page shows a link back to that step: Survey details, Survey questions, or Survey audience.