
Creating pulse checks
Create a Pulse Check, choose the audience, and schedule it.
A Pulse Check is a short survey. You use it to see how people on your team are doing.
The create flow has four steps: Details, Questions, Audience, and Review. If you select Before each 1:1 session, the flow skips Audience.
Before you start
- You must be signed in.
- These plans include this feature: Retain, Hire + Retain, and Enterprise.
- These roles can create a Pulse Check: Owner and Administrator.
- You need at least one number question. The system uses that score for flags and trends.
View Pulse Checks
- Open Retain, then open Pulse Checks.
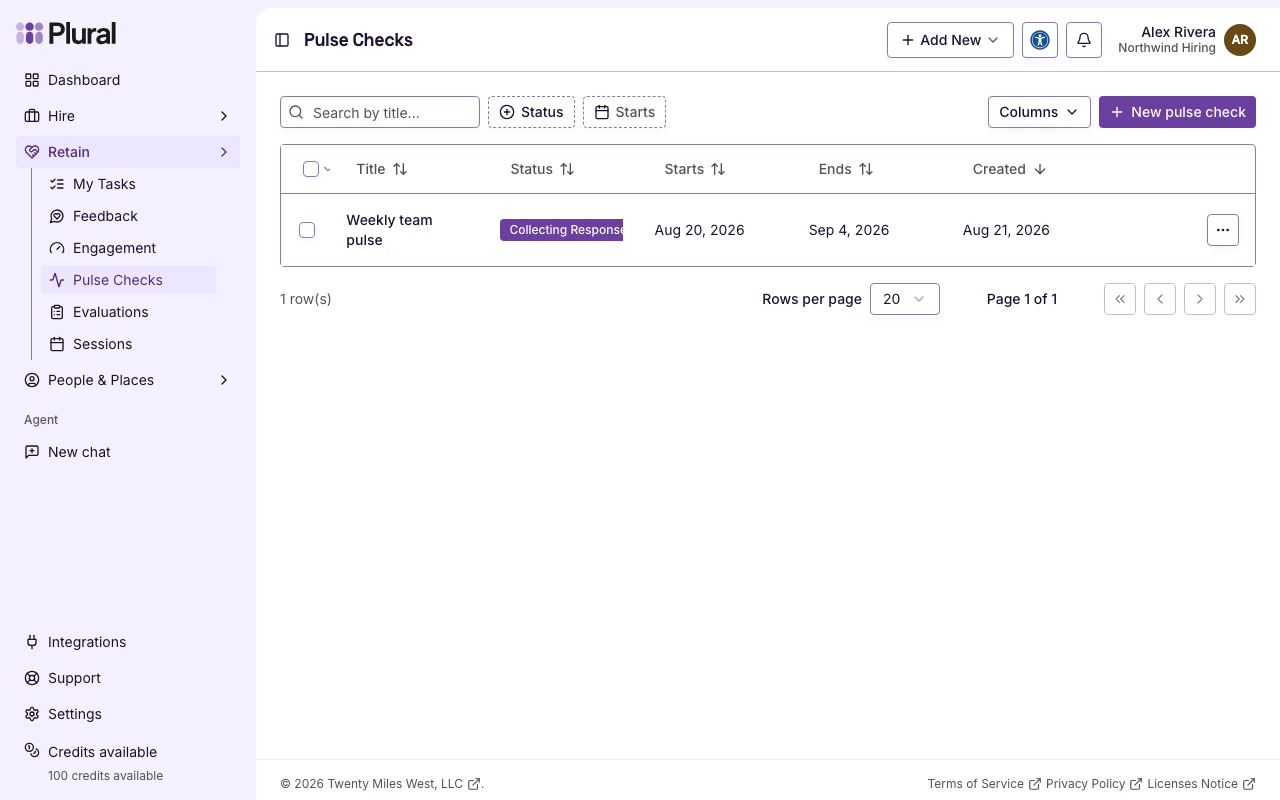
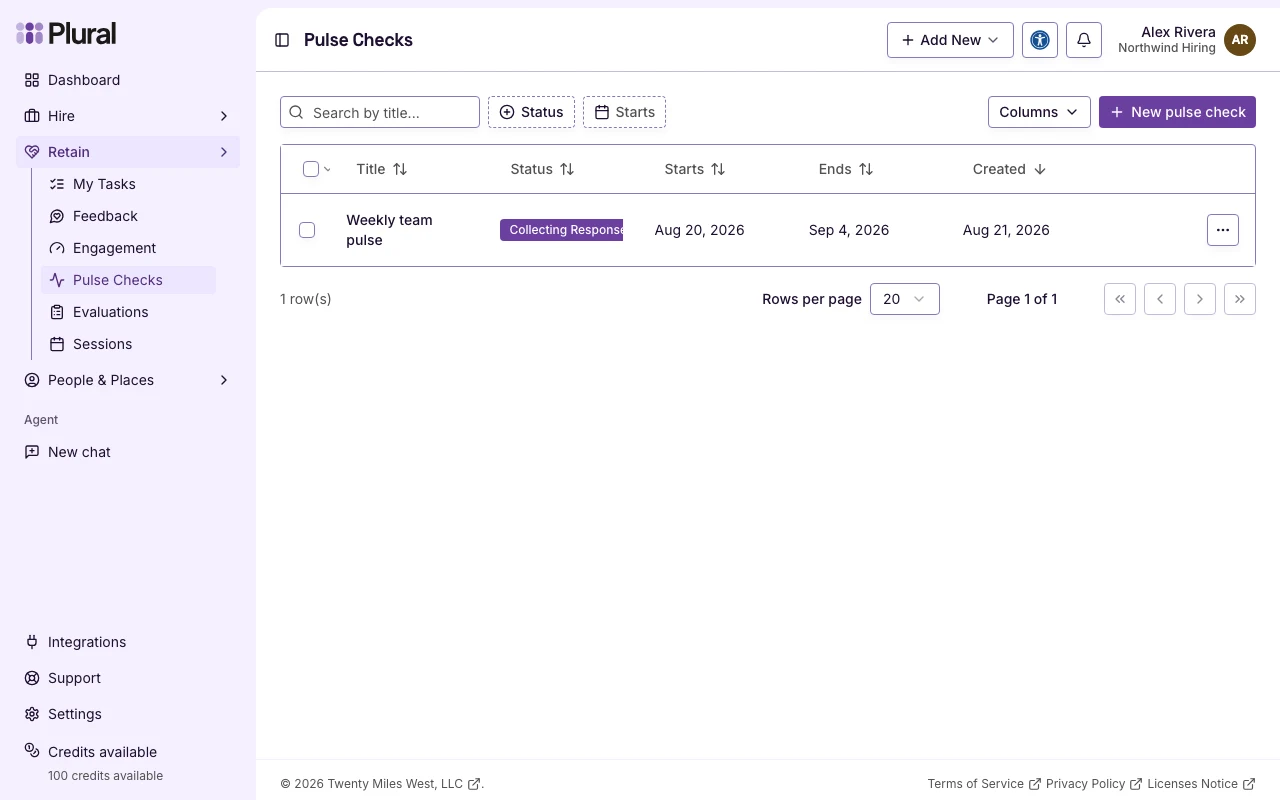
- Select New pulse check. If you have no Pulse Checks yet, select Create pulse check.
The page title is Create pulse check.
Pulse Check details
The form title is Pulse check details.
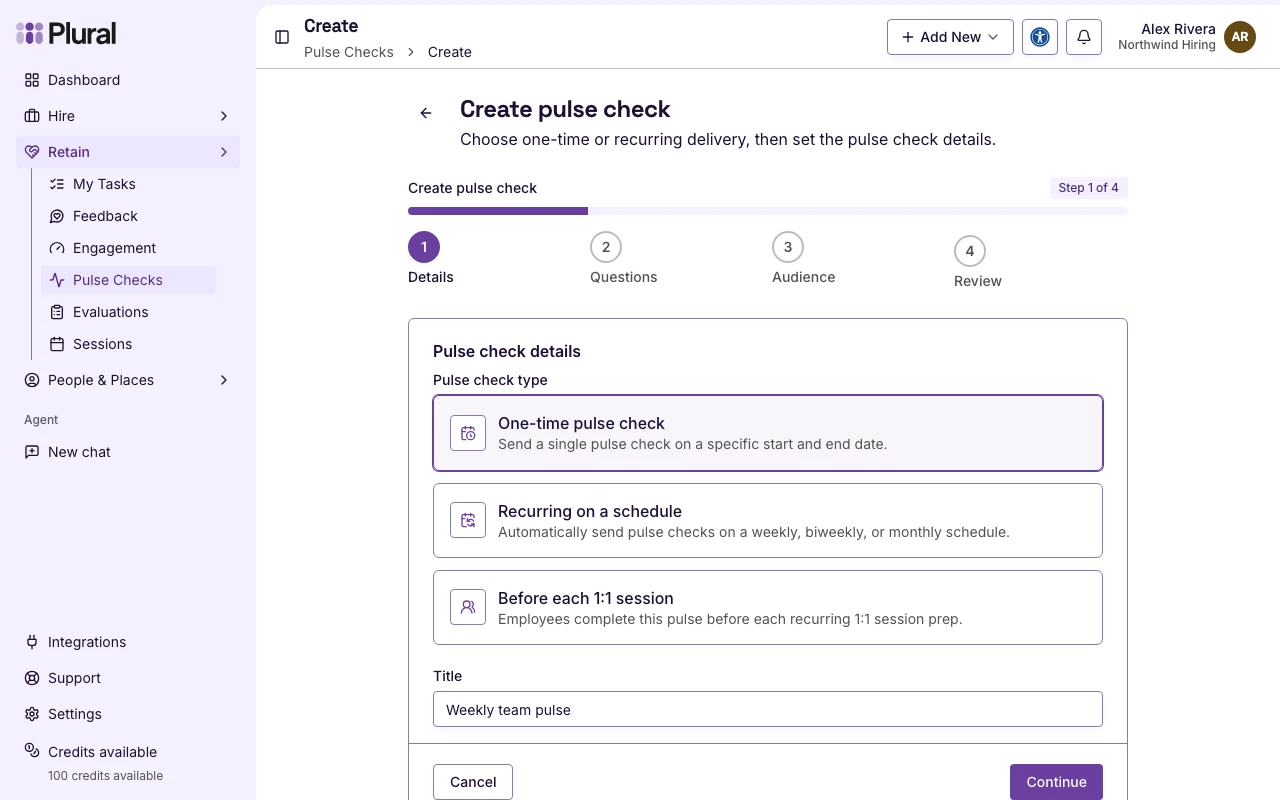
Pulse check type
Select one type.
- One-time pulse check — send one Pulse Check. Set a Start date. End date is optional. If you leave the end date empty, the Pulse Check has no end date.
- Recurring on a schedule — send Pulse Checks on a Weekly, Every 2 weeks, or Monthly cycle. Select Days of the week, a Time, and a Timezone. Start date is optional. If you leave it empty, the first send is immediate.
- Before each 1:1 session — people complete the Pulse Check before each recurring 1:1 session. This type does not use the Audience step.
This procedure uses One-time pulse check.
Title and description
- In Title, type the name of the Pulse Check. This example uses Weekly team pulse.
- In Description, write a short note. Recipients see this text on the respond page.
Flag scores below
Move Flag scores below to the score that needs follow-up. The range is 1 to 10. The default is 5. A primary score under this value is flagged.
When the details are complete, select Continue. Select Cancel to return to Pulse Checks.
Questions
The page title is Pulse check questions. You must add at least one Number question before you continue.
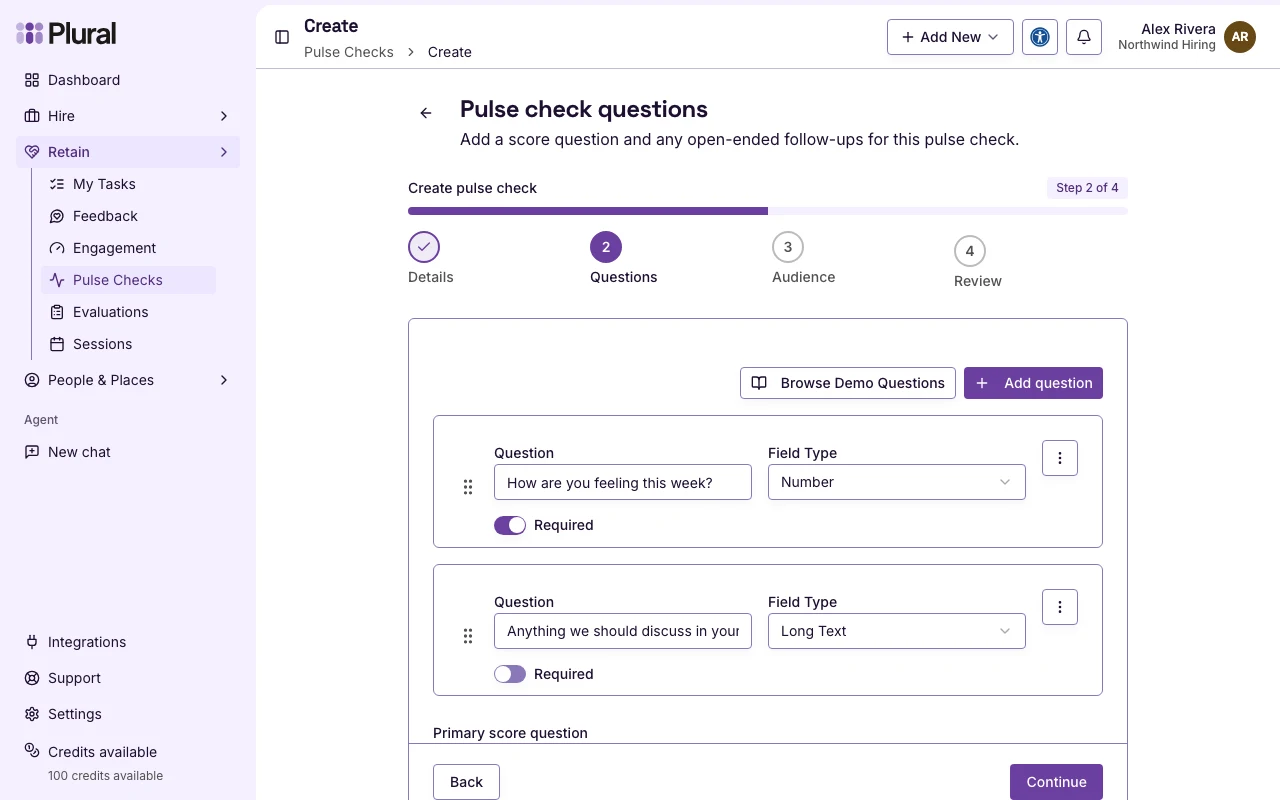
- Select Add question.
- In Question, type the prompt. This example uses How are you feeling this week?
- In Field Type, keep Number for the score question.
- Turn on Required if the person must answer.
- Add more questions if you need them. You can drag a question to change the order.
- In Primary score question, select the number question that the system uses for flags and trends. If you have one number question, the system selects it.
- Select Continue.
Select Browse Demo Questions to add sample questions by category. You can add more than one question without closing that window. You can edit a question after you add it.
If you have no number question, the form shows: Pulse checks need at least one number question. Add a number question to continue.
Question types
- Short Text — one line.
- Long Text — several lines. Example: Anything we should discuss in your next 1:1?
- Email — an email address.
- Number — a number. Use this for the primary score. The usual range is 1 to 10.
- URL — a web link.
- Dropdown — one choice from a list.
- Radio Buttons — one choice, with all options visible.
- Checkboxes — more than one choice.
- Date — a date.
- Time — a time of day.
A short Pulse Check can use one required number question and one optional long-text question.
Audience
The page title is Pulse check audience. The card title is Who should receive this pulse check?
This step does not appear for Before each 1:1 session.
- Select who receives the Pulse Check.
- Select how recipients are notified.
- Select Continue.
Audience
- All employees — every employee. The label includes the employee count.
- Specific groups — one or more groups. Search and select groups.
- Email list — one email per line.
How should recipients be notified?
- Text message — the system sends a text to the employee phone numbers on file. An email list supports email only.
Review
The page title is Review pulse check. The card title is Review and schedule.
Confirm the type, title, schedule, delivery, and audience.
- Select Schedule pulse check for a one-time Pulse Check.
- For Recurring on a schedule, select Save recurring pulse check.
- For Before each 1:1 session, select Save recurring 1:1 pulse check.
Select Back to change an earlier step.