
Two-factor authentication
Enable 2FA, store recovery codes, and turn 2FA off.
Two-factor authentication adds a second check when you sign in. After you enable it, you enter a pin from an authenticator app on your phone.
Plural names this setting Two-Factor Authentication and 2FA. This is also called MFA.
Before you start
- You must be signed in.
- These plans include this feature: Hire, Retain, Hire + Retain, and Enterprise.
- These roles can change 2FA for their own account: Owner, Administrator, Auditor, Hiring Manager, Office Administrator, and Employee.
- You need an authenticator app that supports TOTP.
- If your organization turns on Require MFA for all members, you must enable 2FA before you can use the app. That page title is Enable Two-Factor Authentication.
View Two-Factor Authentication
- Open Settings.

The Settings page title is Settings. The text below the title is Manage your profile and account settings.
- Under User settings, select Two-Factor Authentication.
The page title is Two-Factor Authentication. The text below the title is Manage your two-factor authentication settings.
When 2FA is off, the badge shows Disabled. The page shows Enable 2FA.
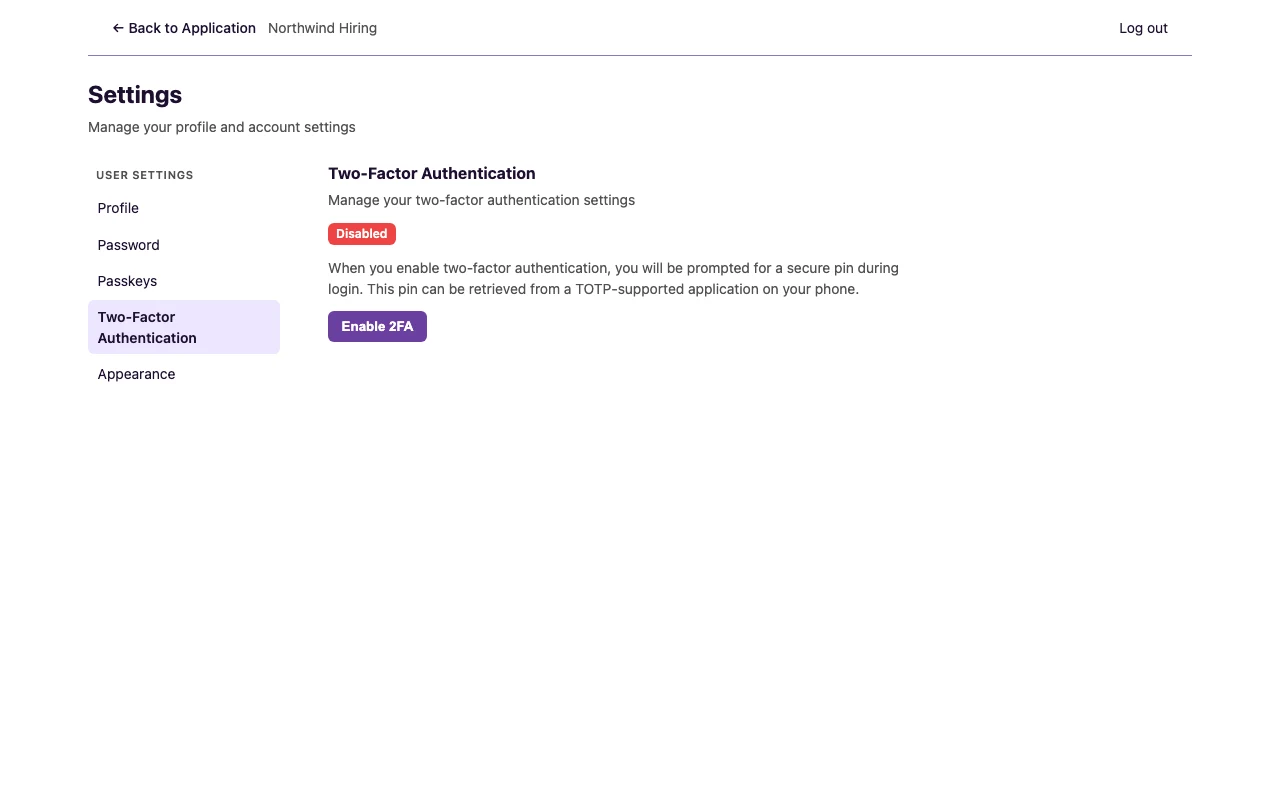
Enable 2FA
- Select Enable 2FA.
The dialog title is Enable Two-Factor Authentication. The text below the title is To finish enabling two-factor authentication, scan the QR code or enter the setup key in your authenticator app.
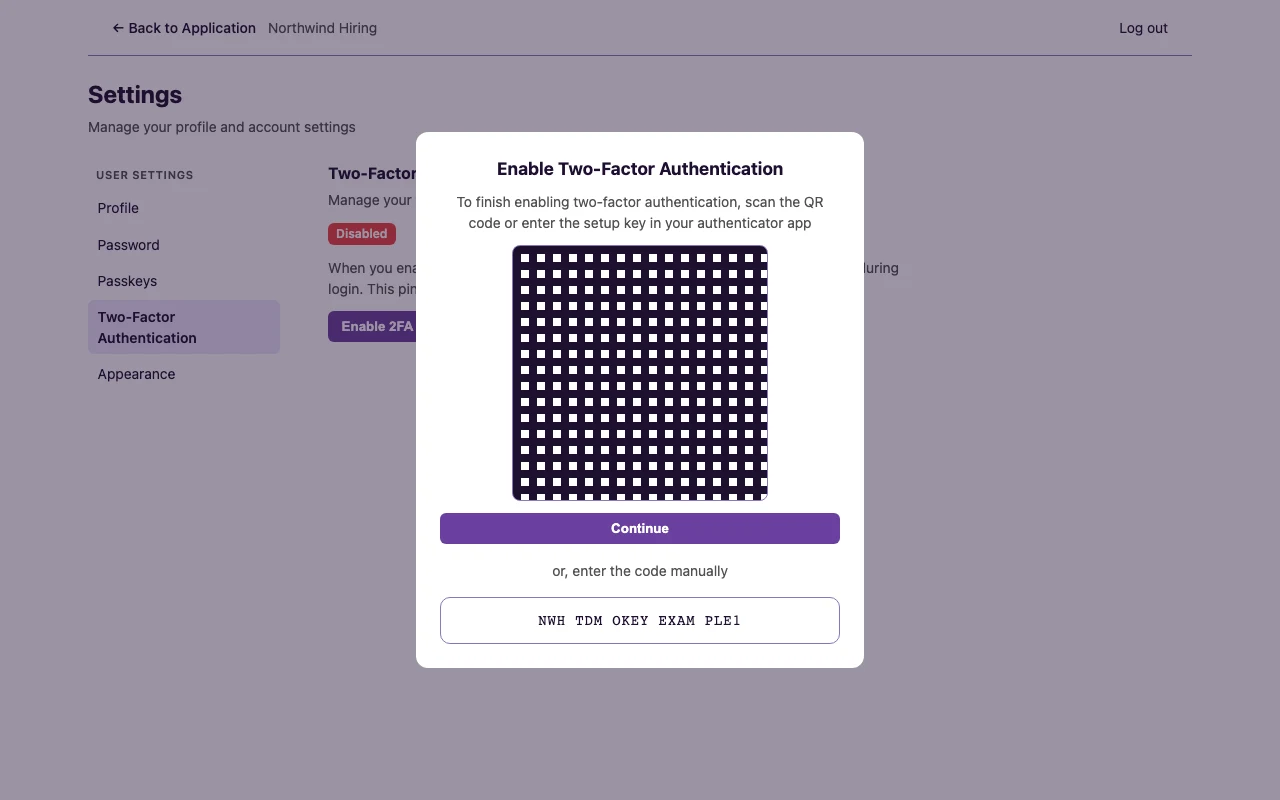
- Scan the QR code in your authenticator app. The image name is Two-factor authentication QR code.
- If you cannot scan, use the setup key next to or, enter the code manually.
- Select Continue.
The dialog title is Verify Authentication Code. The text below the title is Enter the 6-digit code from your authenticator app.
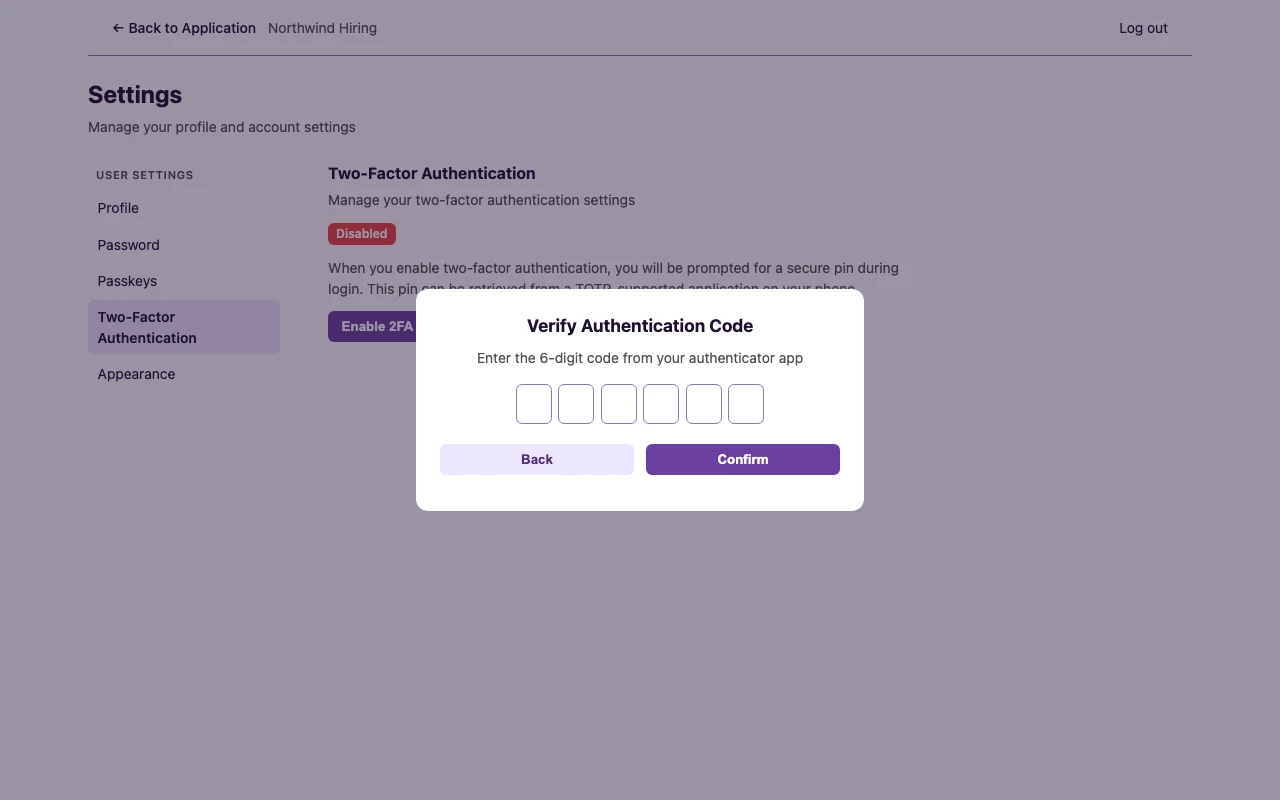
- Type the 6-digit code from your authenticator app.
- Select Confirm. Select Back to return to the QR code.
If you close the dialog before you confirm, the page shows Continue Setup. Select that button to open the dialog again.
If the code is wrong, the dialog shows: The provided two factor authentication code was invalid.
If enable fails before the dialog opens, the page shows: Failed to enable two-factor authentication. Please try again.
Recovery codes
Recovery codes let you sign in if you lose your authenticator device. Each code works one time.
2FA must show Enabled. If the badge shows Disabled, enable 2FA first.
The card title is 2FA Recovery Codes. The text below the title is Recovery codes let you regain access if you lose your 2FA device. Store them in a secure password manager.
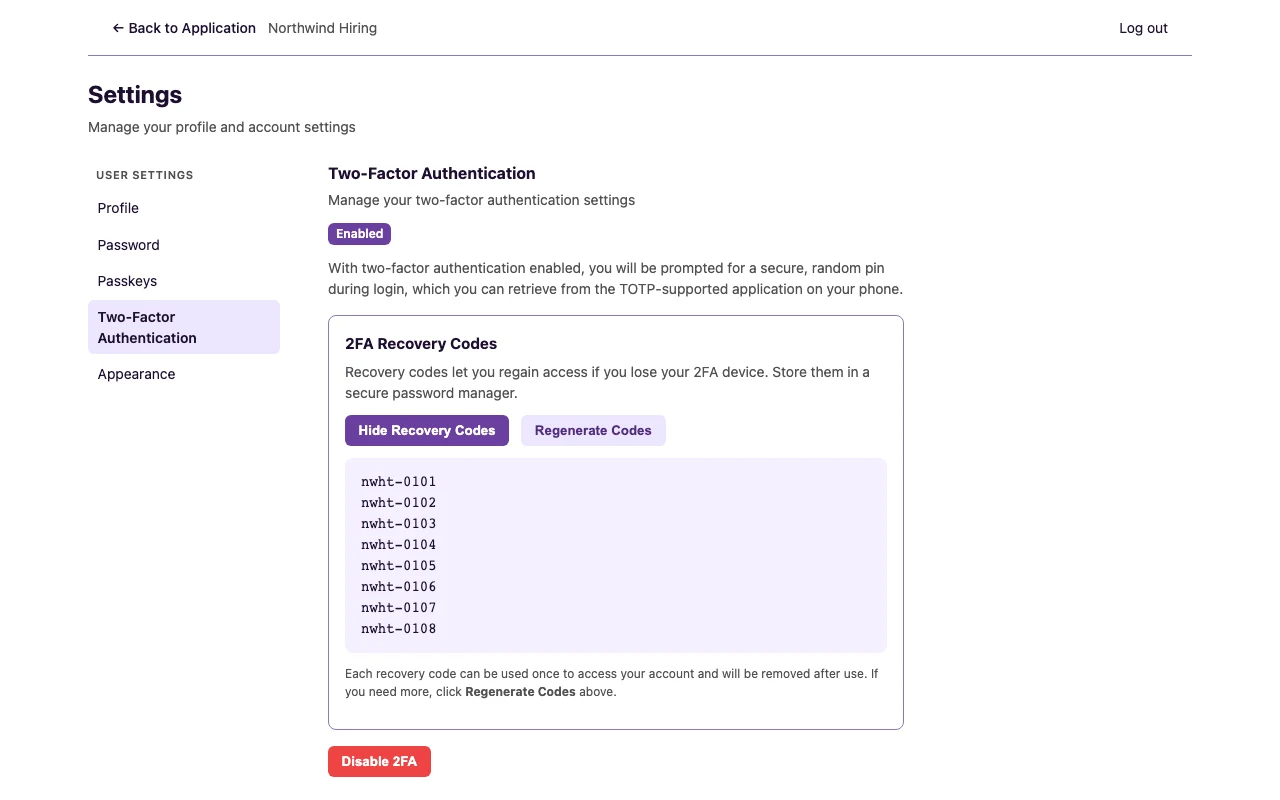
- Select View Recovery Codes.
- Copy each code to a password manager. Do not share them.
- Select Hide Recovery Codes when you finish.
The list name is Recovery codes.
Regenerate codes
Use new codes when you lose the old list, or when you already used some of the codes.
- Select View Recovery Codes if the codes are hidden.
- Select Regenerate Codes.
The old codes stop working. Store the new list.
The text under the list says each recovery code can be used once. If you need more, select Regenerate Codes.
Recovery code sign-in
On the Two-Factor Authentication sign-in page:
- Select use a recovery code.
- In Enter recovery code, type one unused code.
- Select Continue.
The page title is Recovery Code. The text below the title is Please enter one of your emergency recovery codes.
To return to the pin, select use an authentication code.
Disable 2FA
Disable 2FA when you replace your authenticator app and you want to set 2FA up again, or when you no longer want a second check at sign-in.
Plural names this control Disable 2FA. After you disable 2FA, you sign in with your password only until you enable 2FA again.
If your organization turns on Require MFA for all members, you must enable 2FA again before you can use the app.
- Select Disable 2FA.
The badge changes to Disabled. The page shows Enable 2FA. Recovery codes are no longer on the page.